i did not plan to make this at all I’m just bored and also need something to save me from tilt queue
i realized the map was updating every block every tick so it is soooo laggggy:
link to the map with lagfix
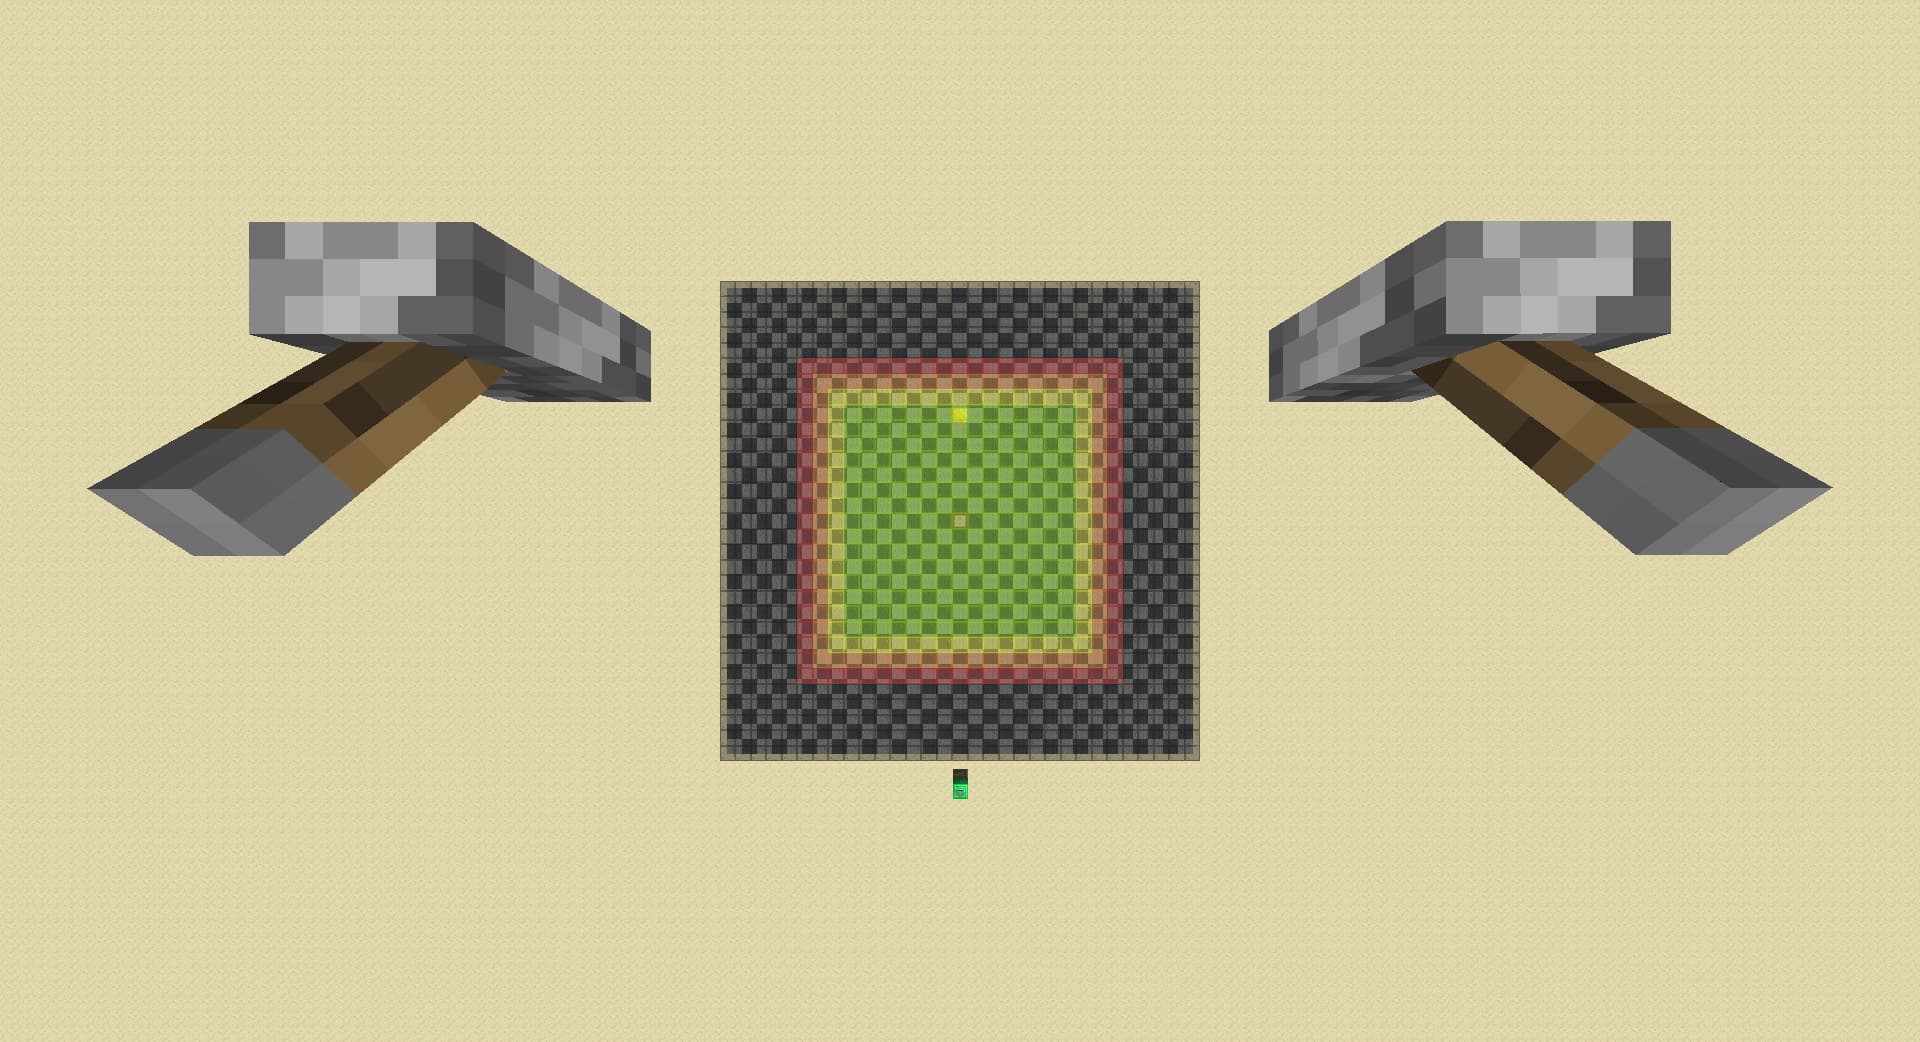
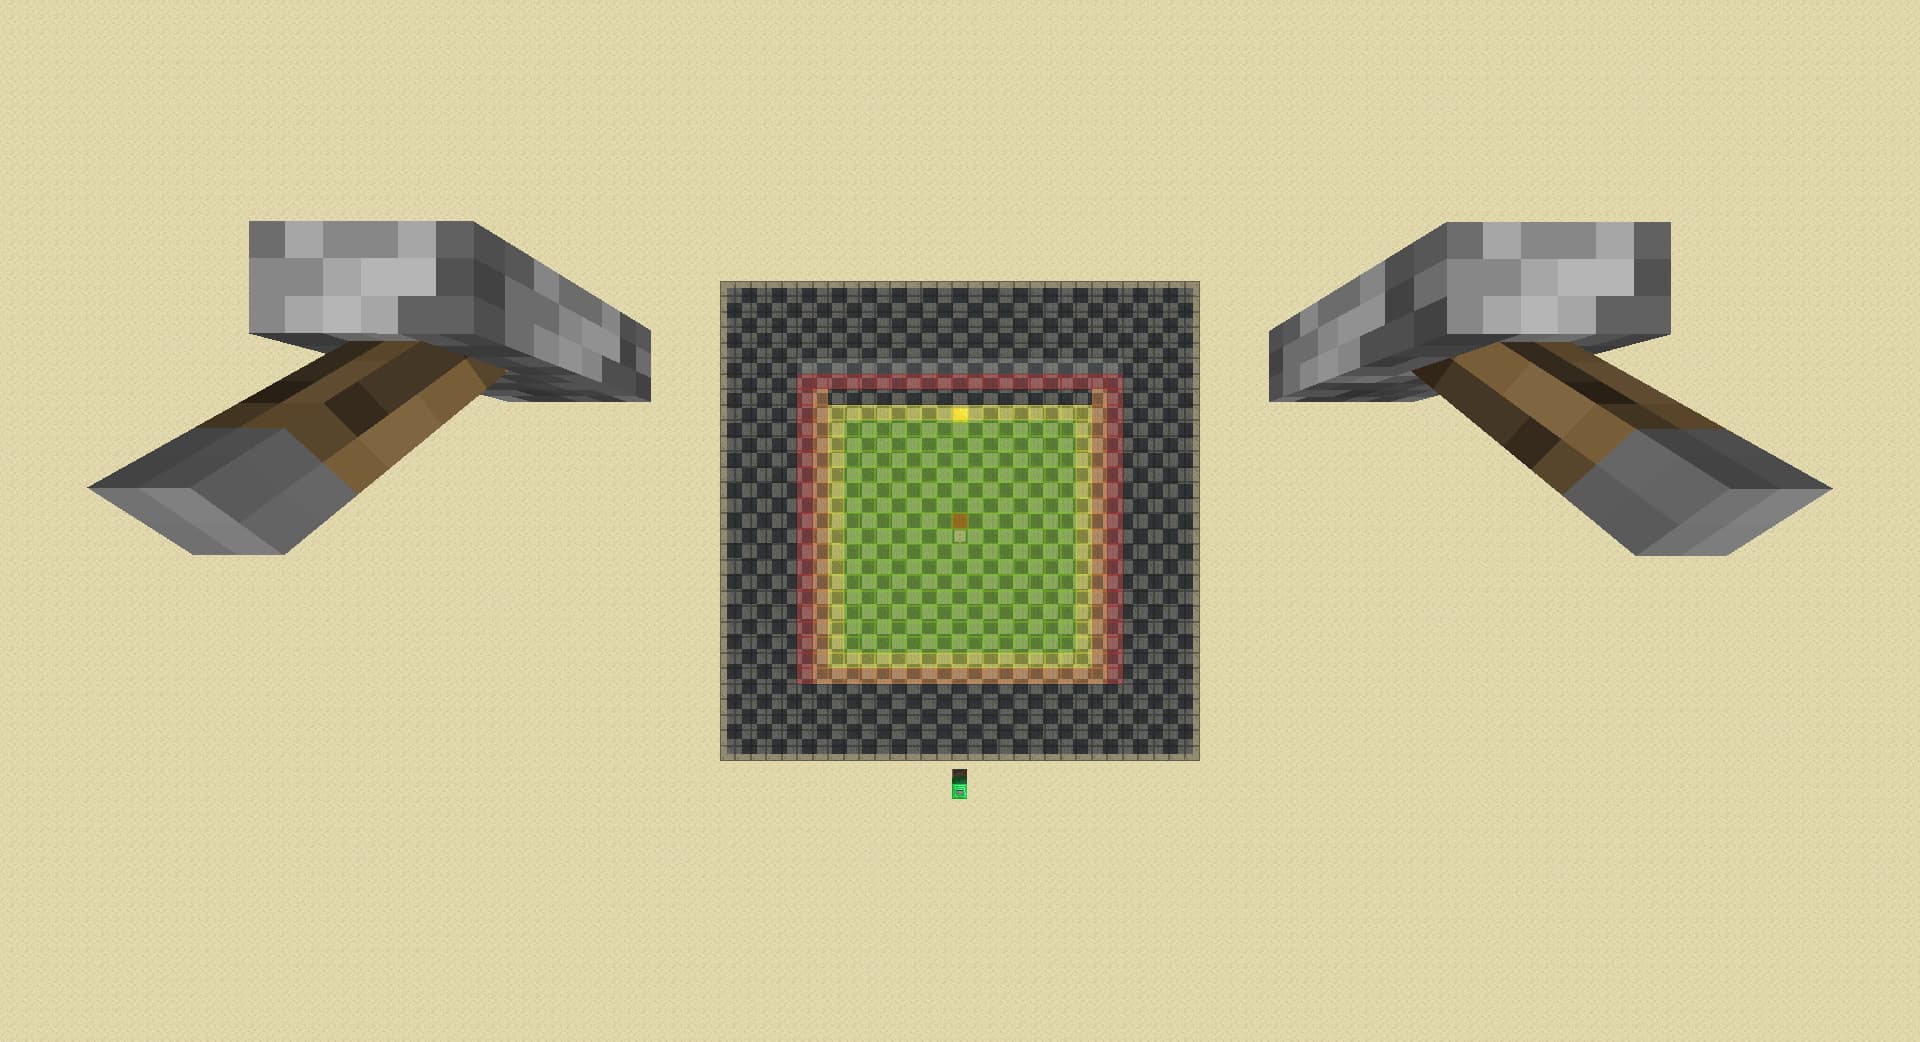
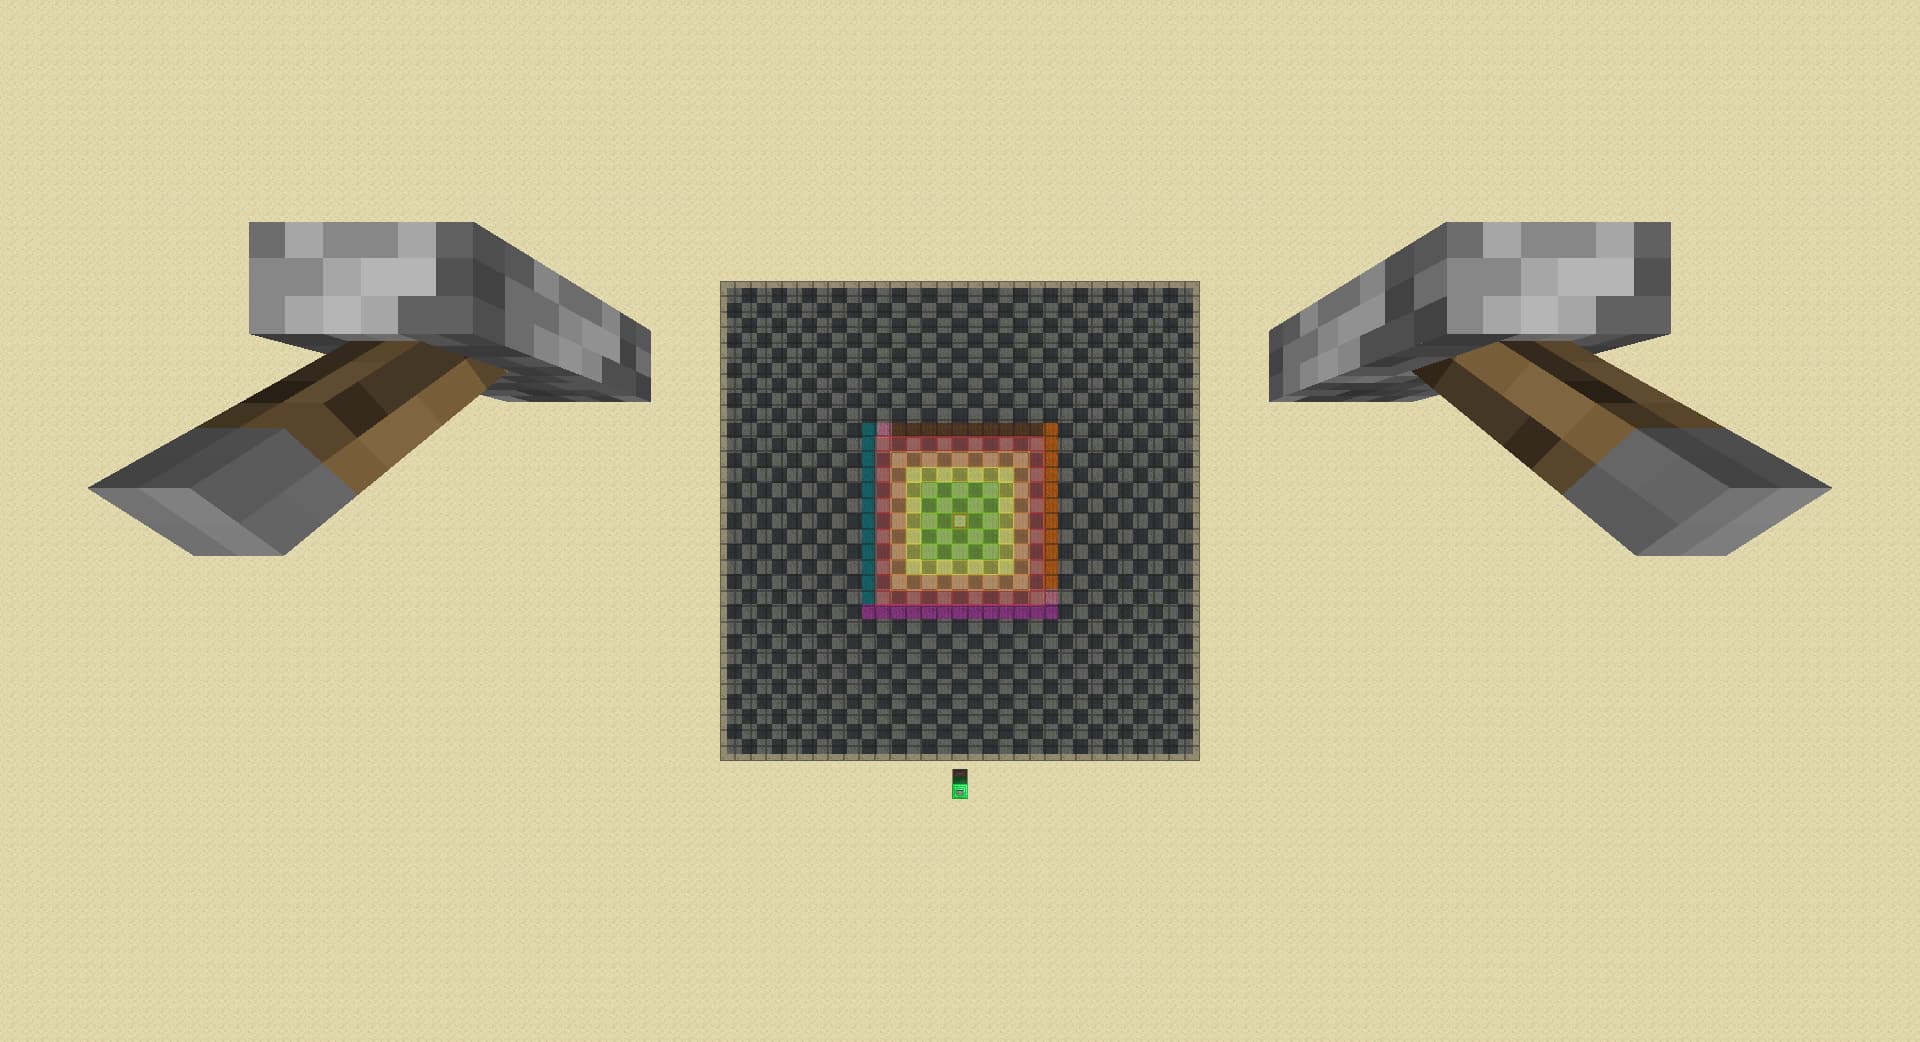
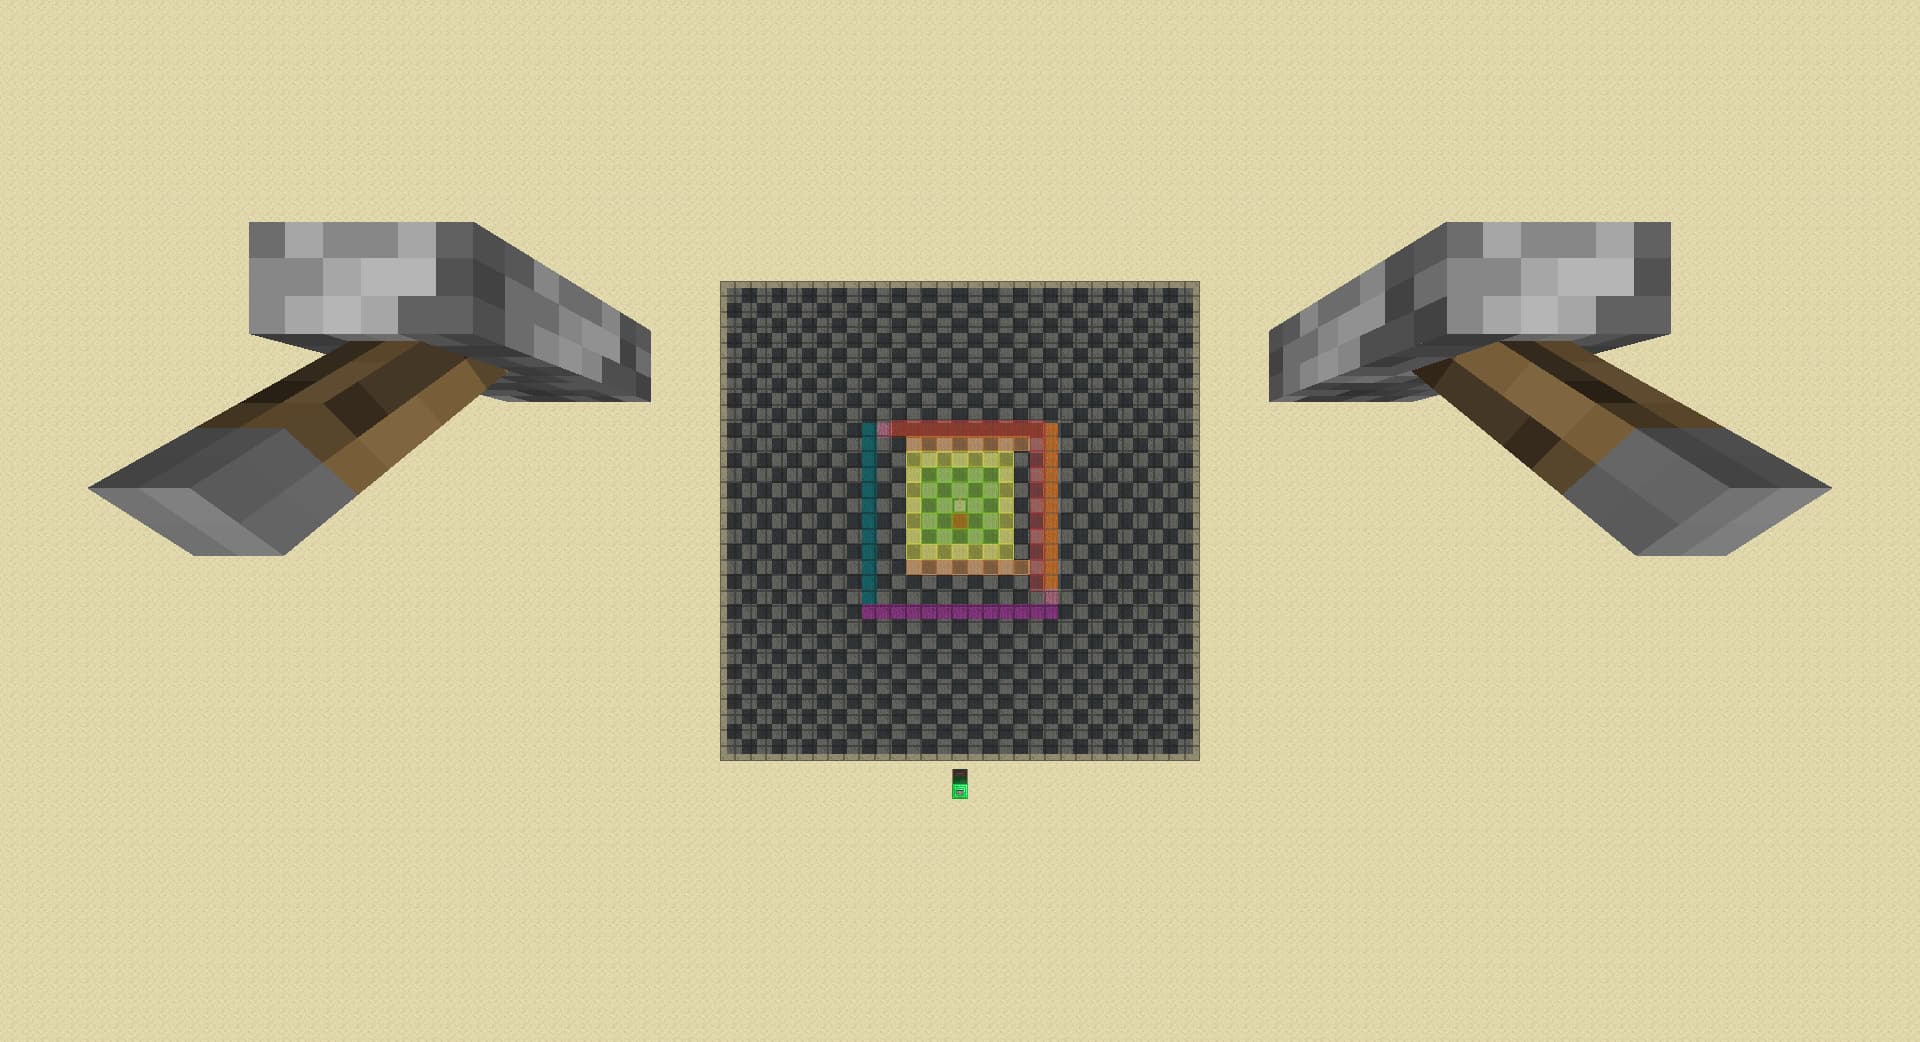
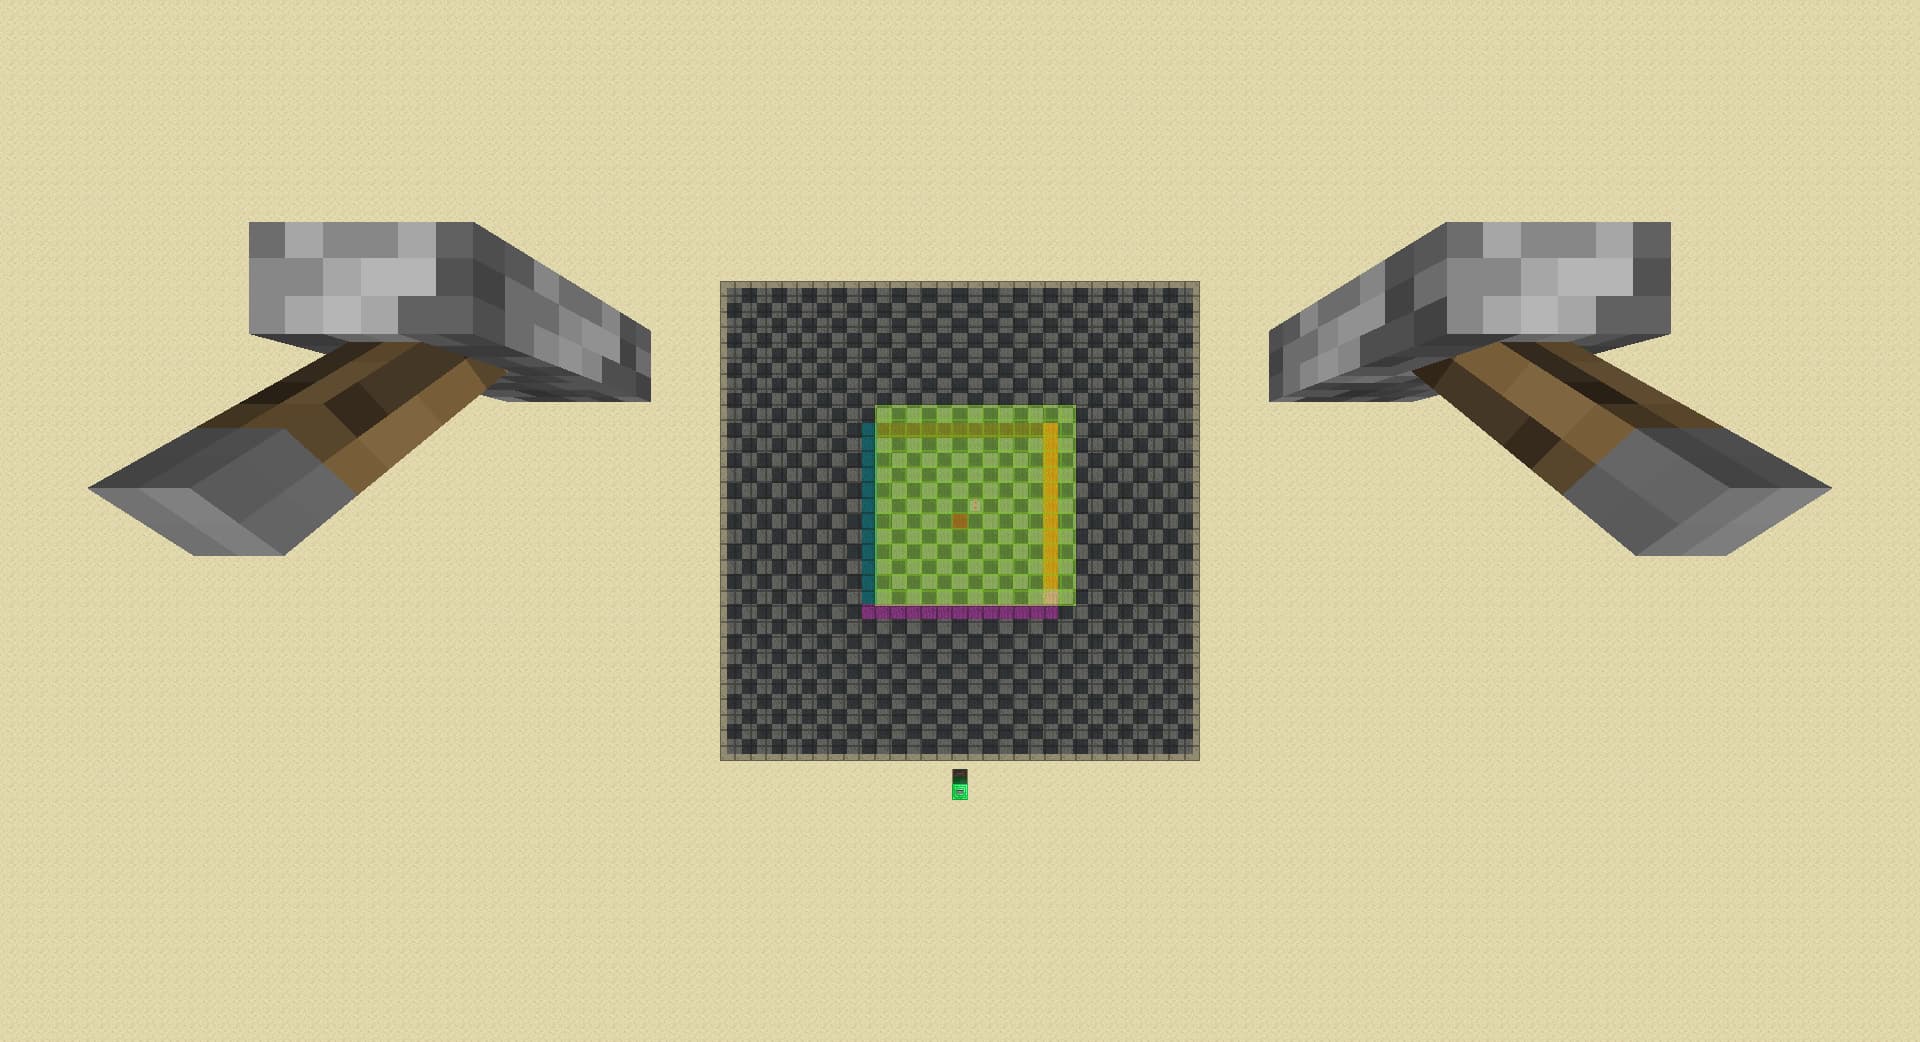
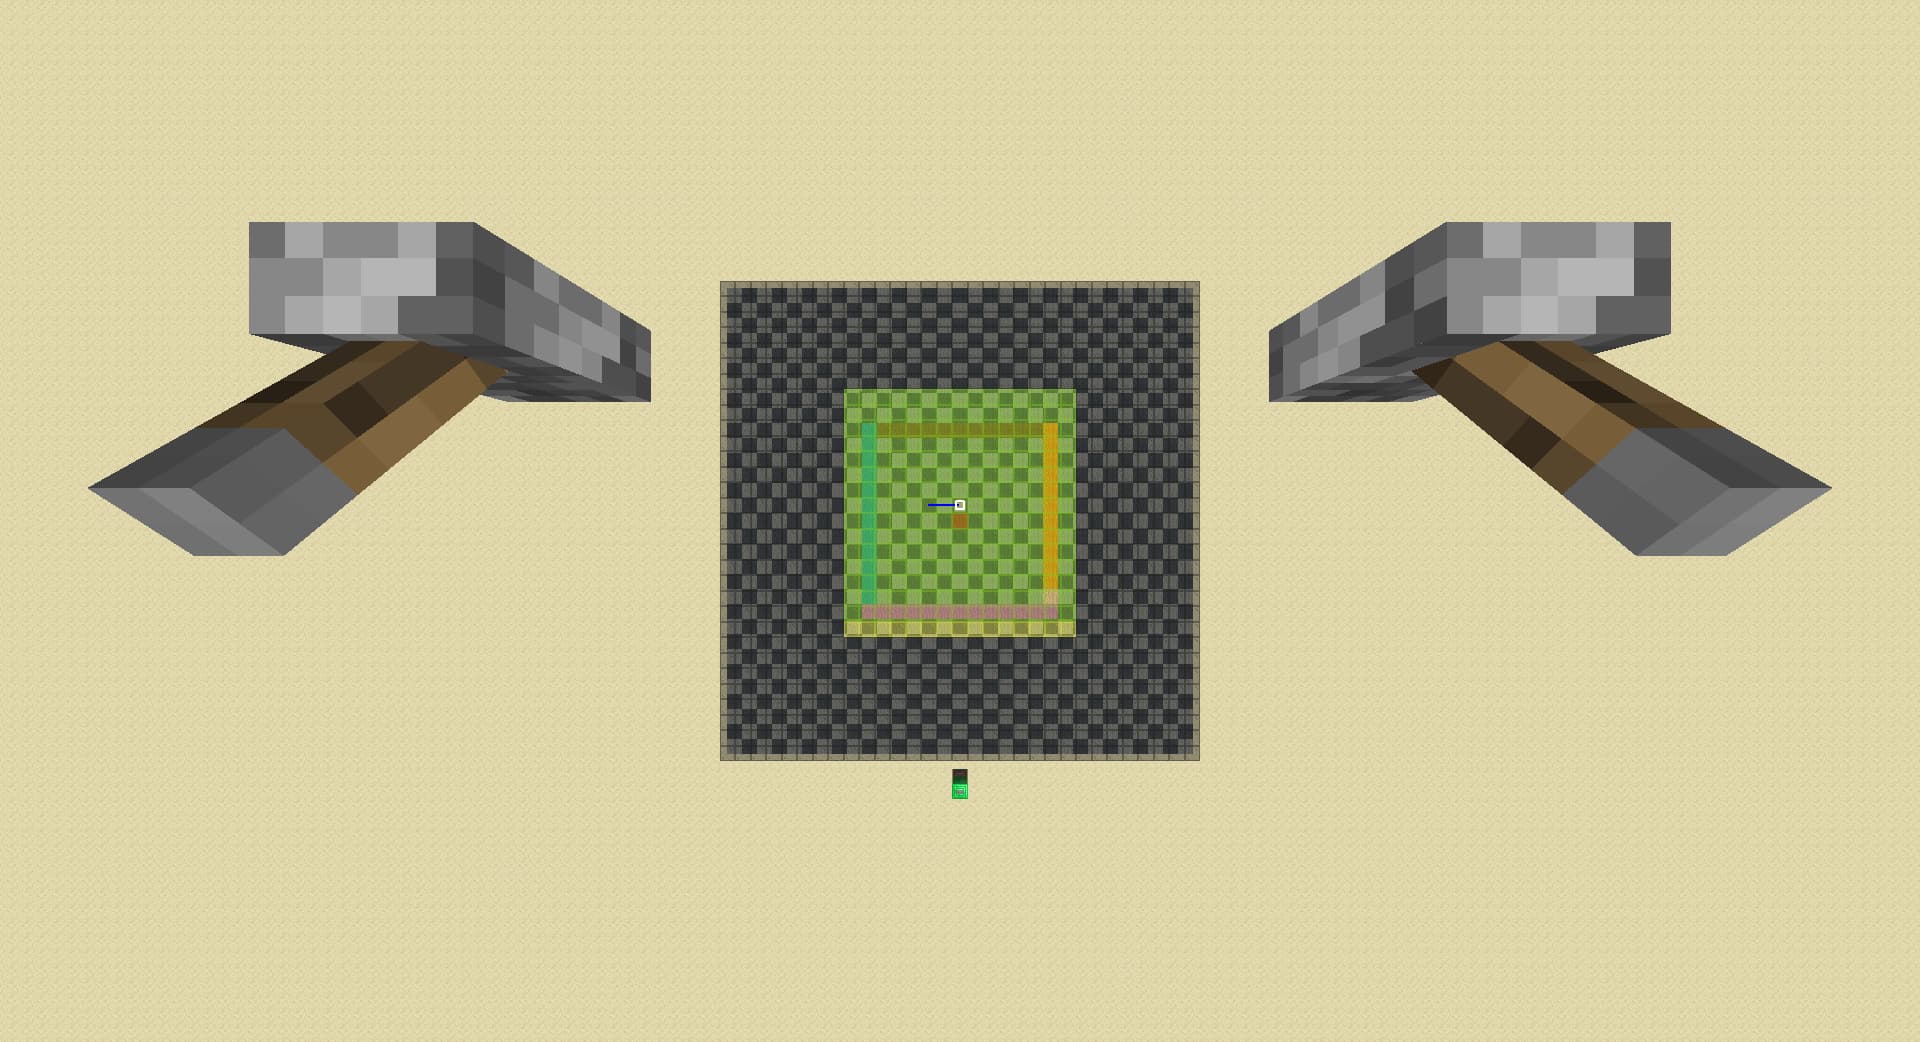
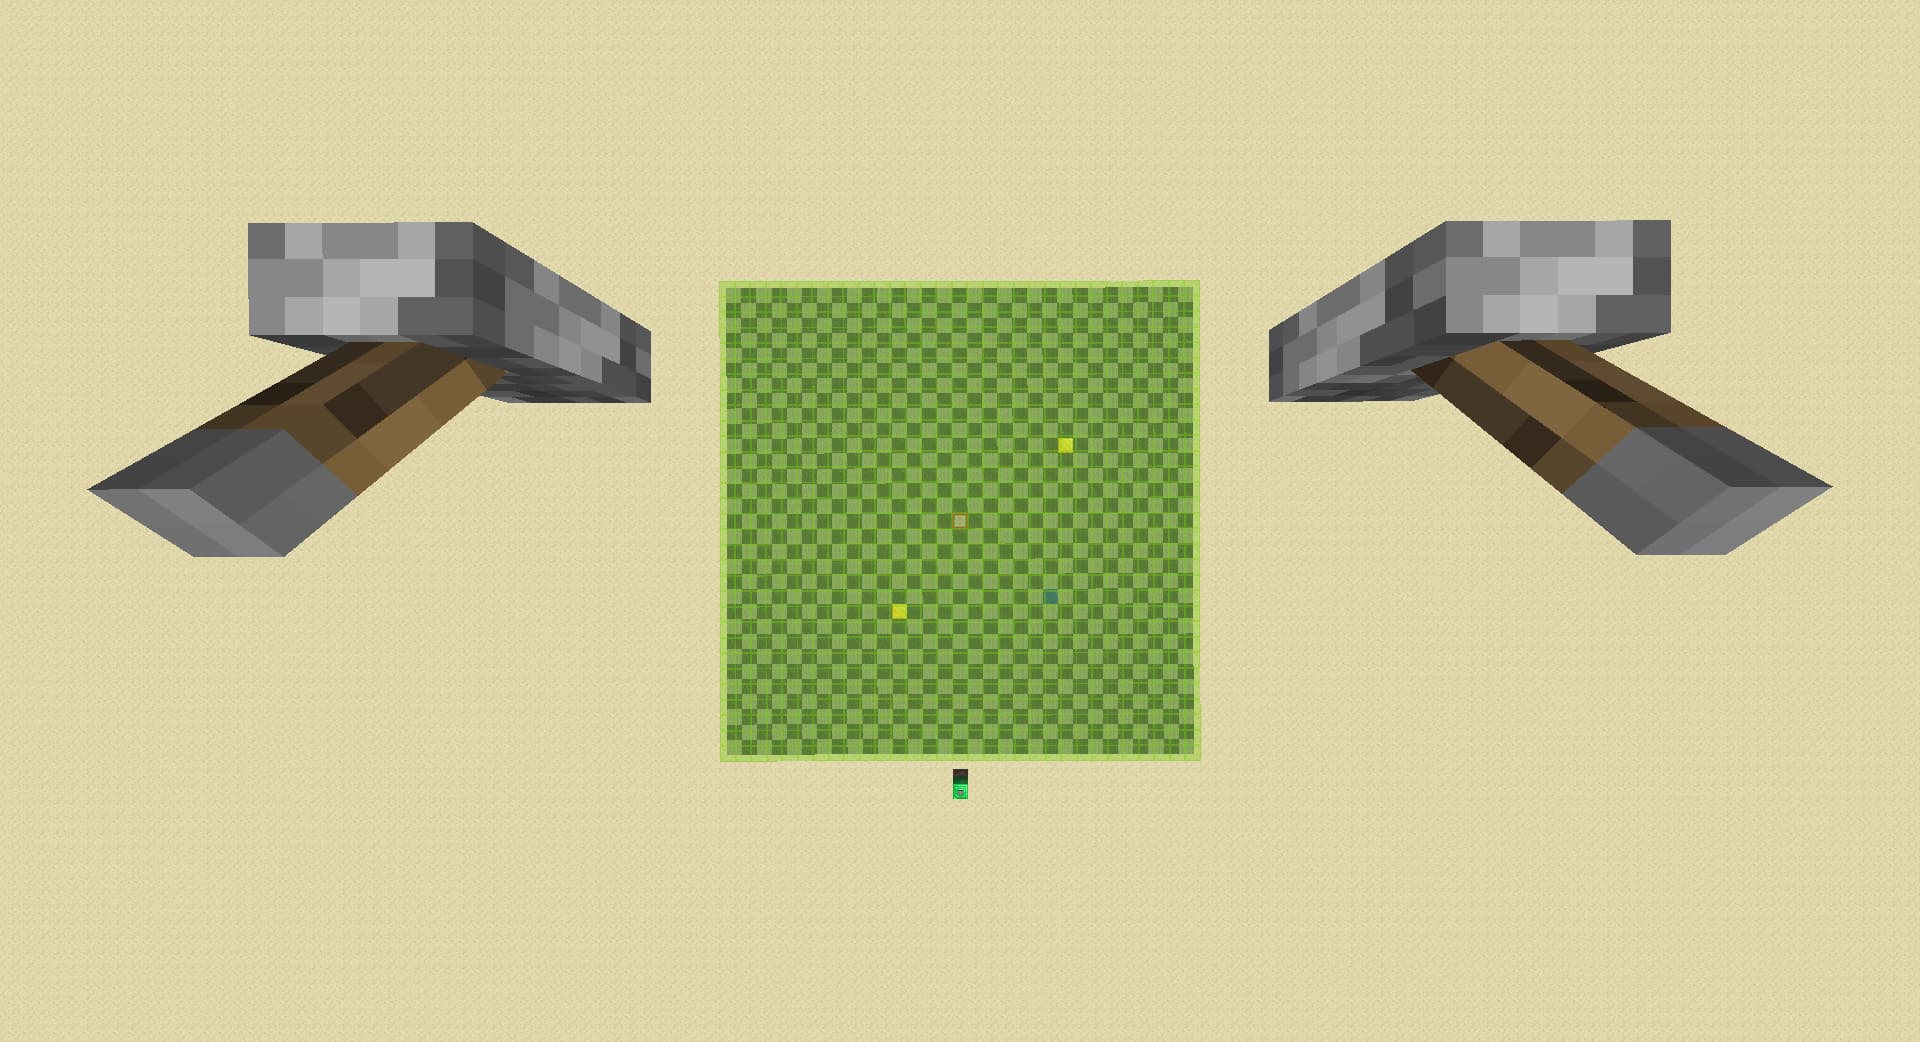
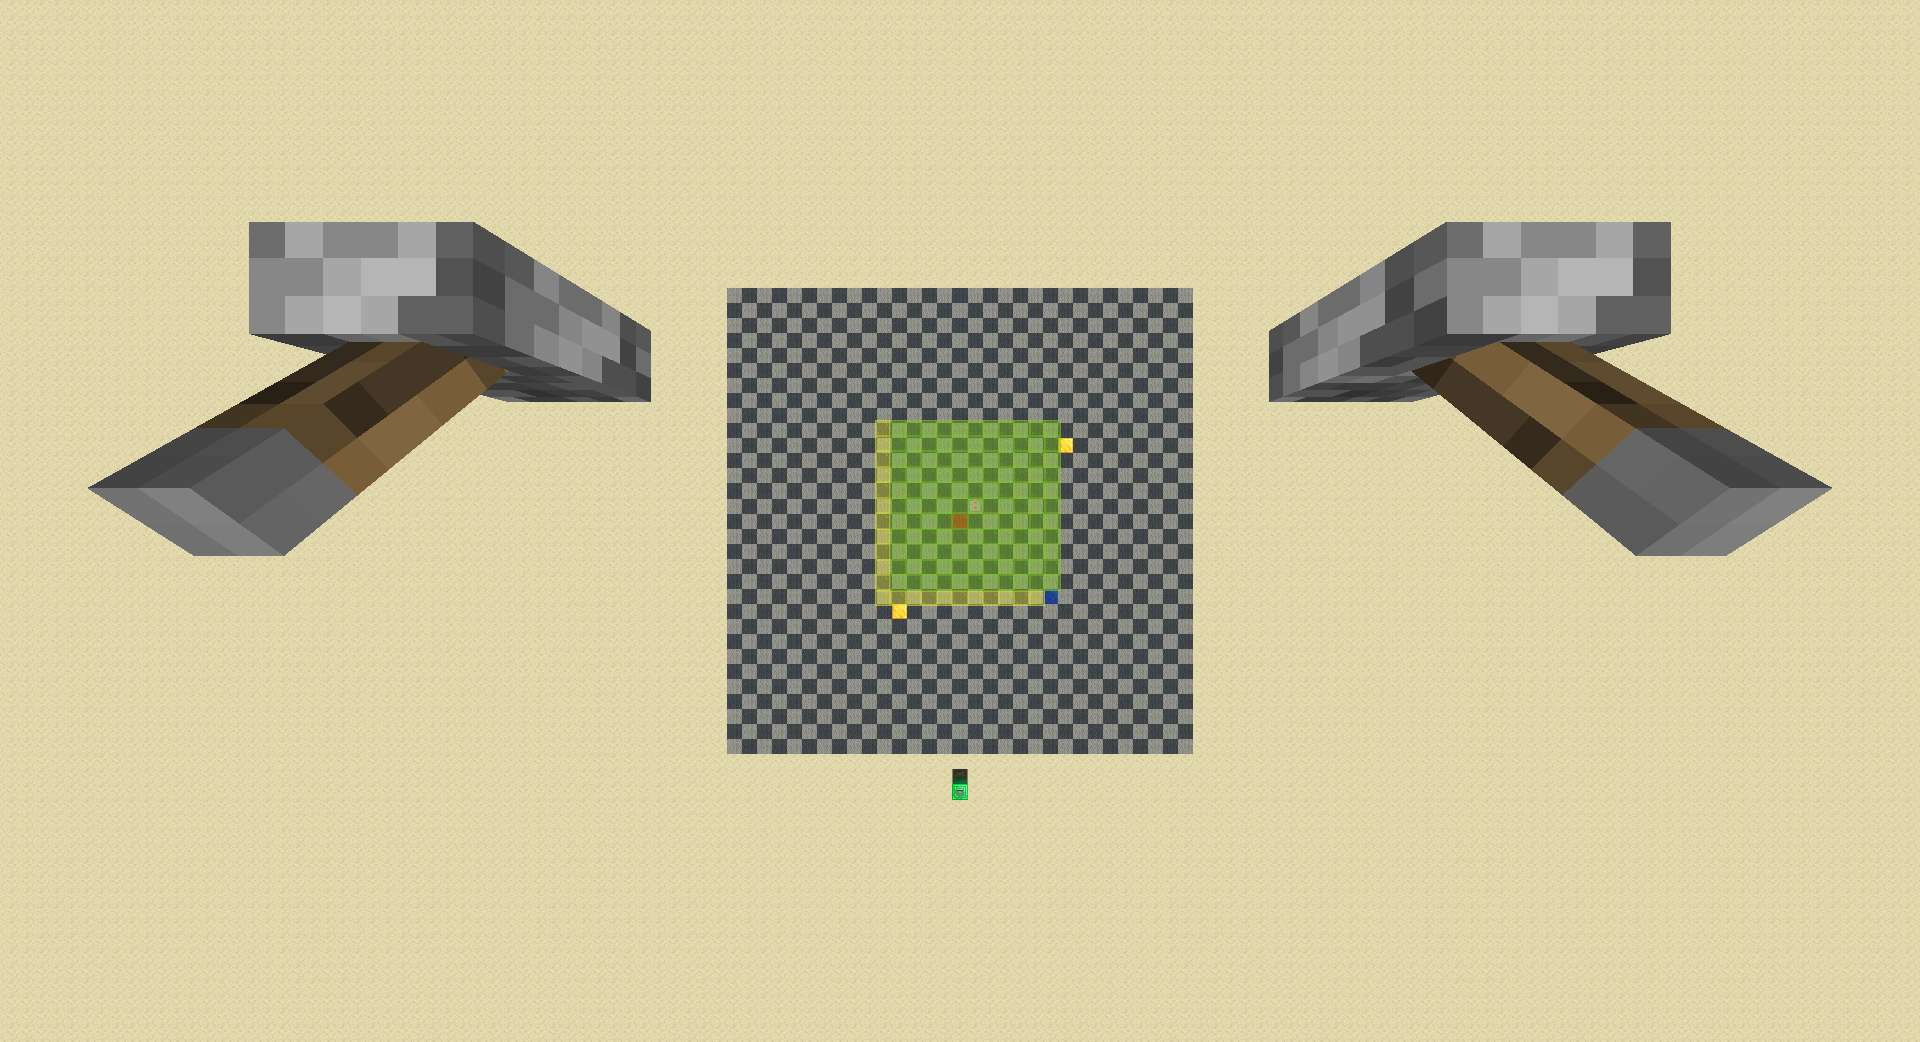
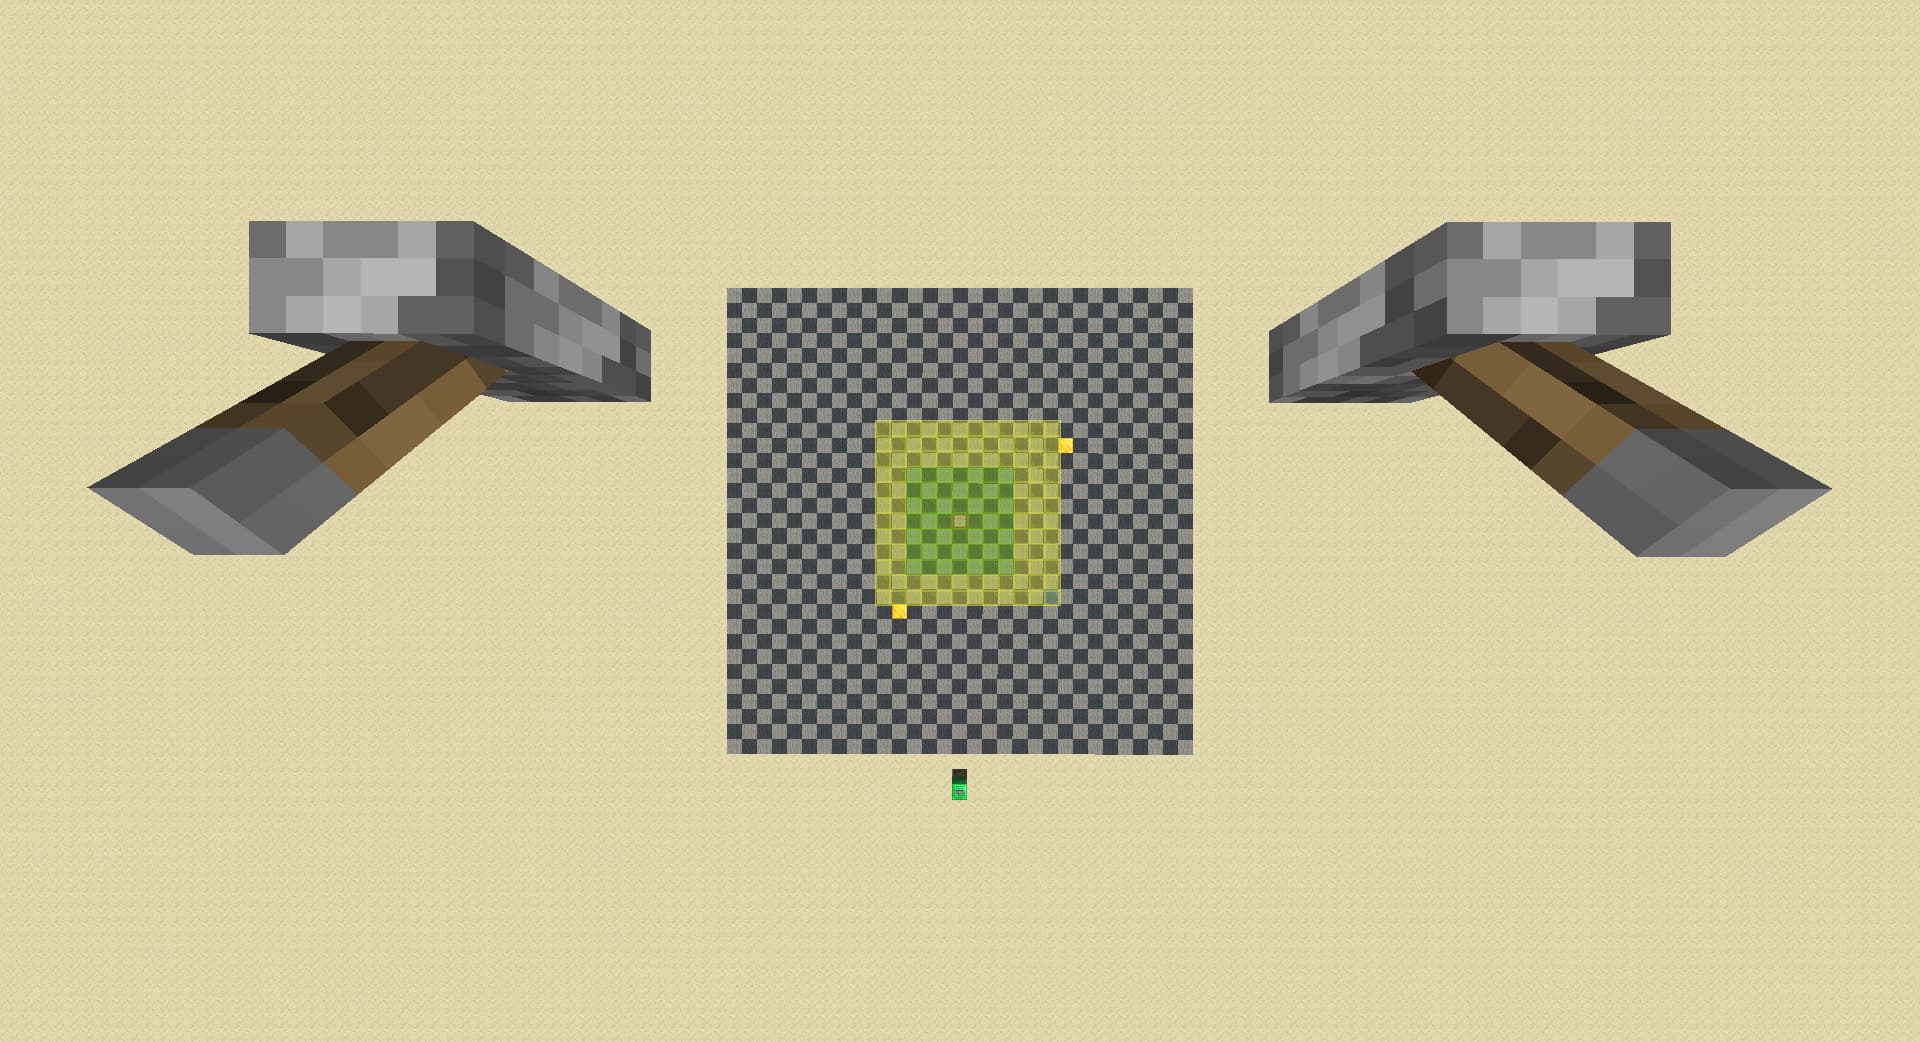
the green chunks are entity ticking and can load in spawners; yellow chunks are lazy chunks that could still potentialy have a spawner loaded; if a chunk has nothing above then its spawner is not loaded(it can be a lazy chunk).
the idea is that when a entity ticking chunk gets too far from player and get replaced by a lazy chunk green turns yellow; yellow can only spawn from green but not from air.
two gold blocks demonstrates a case of ‘far spawner’, both exists at the same time; lapis block is the ‘diagonal spawner’ case, exists without the gold block spawners
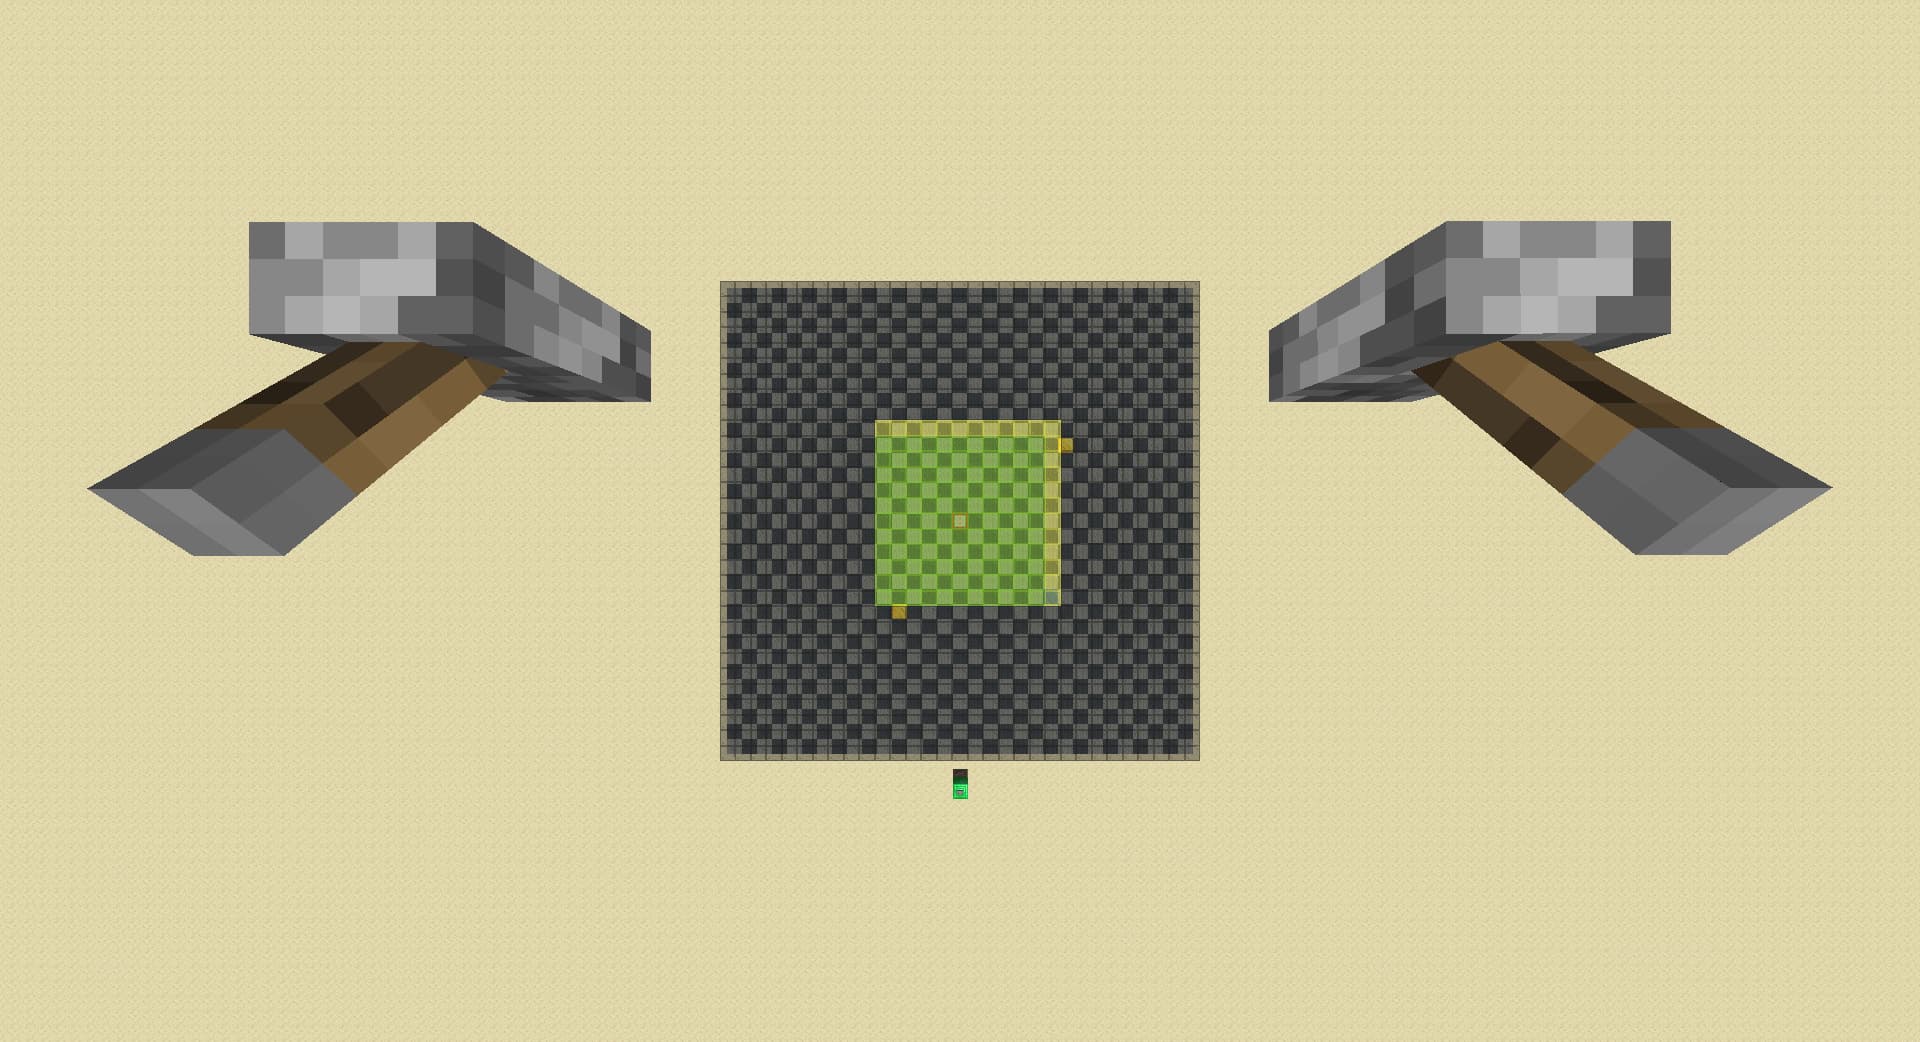
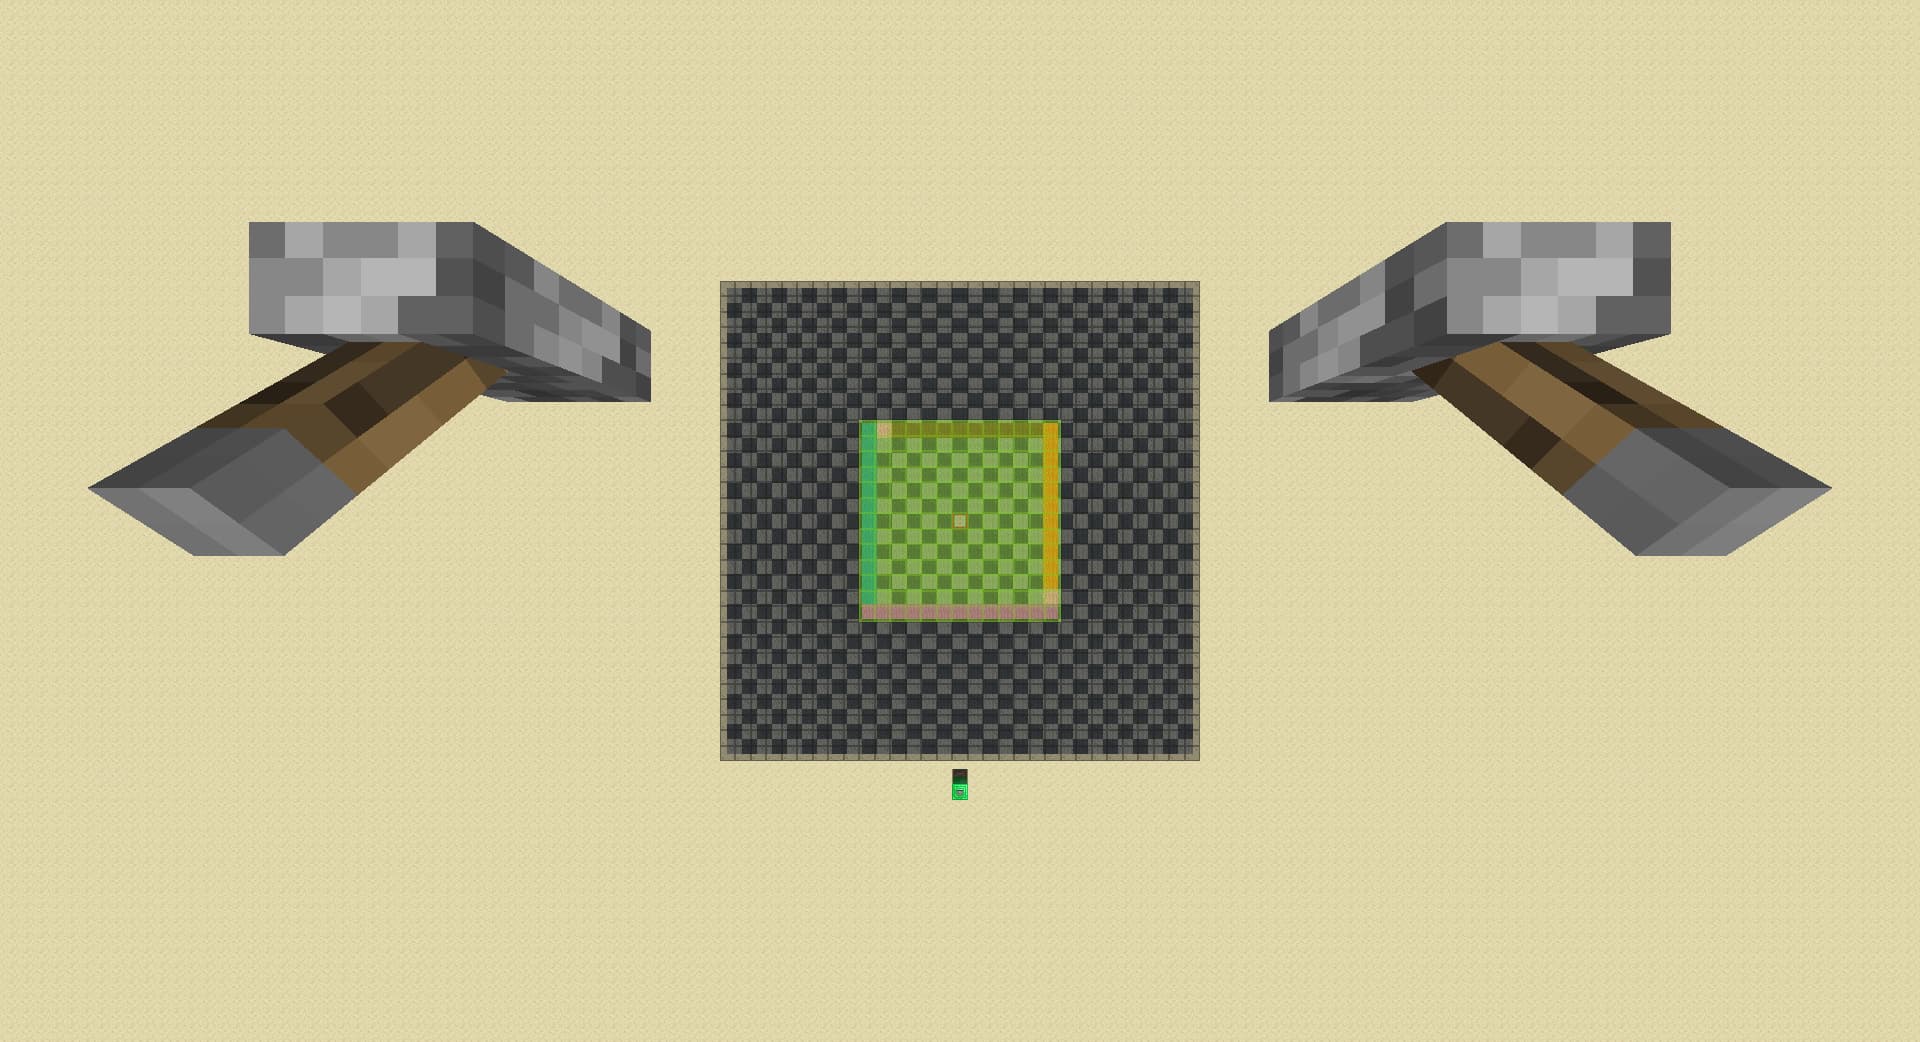
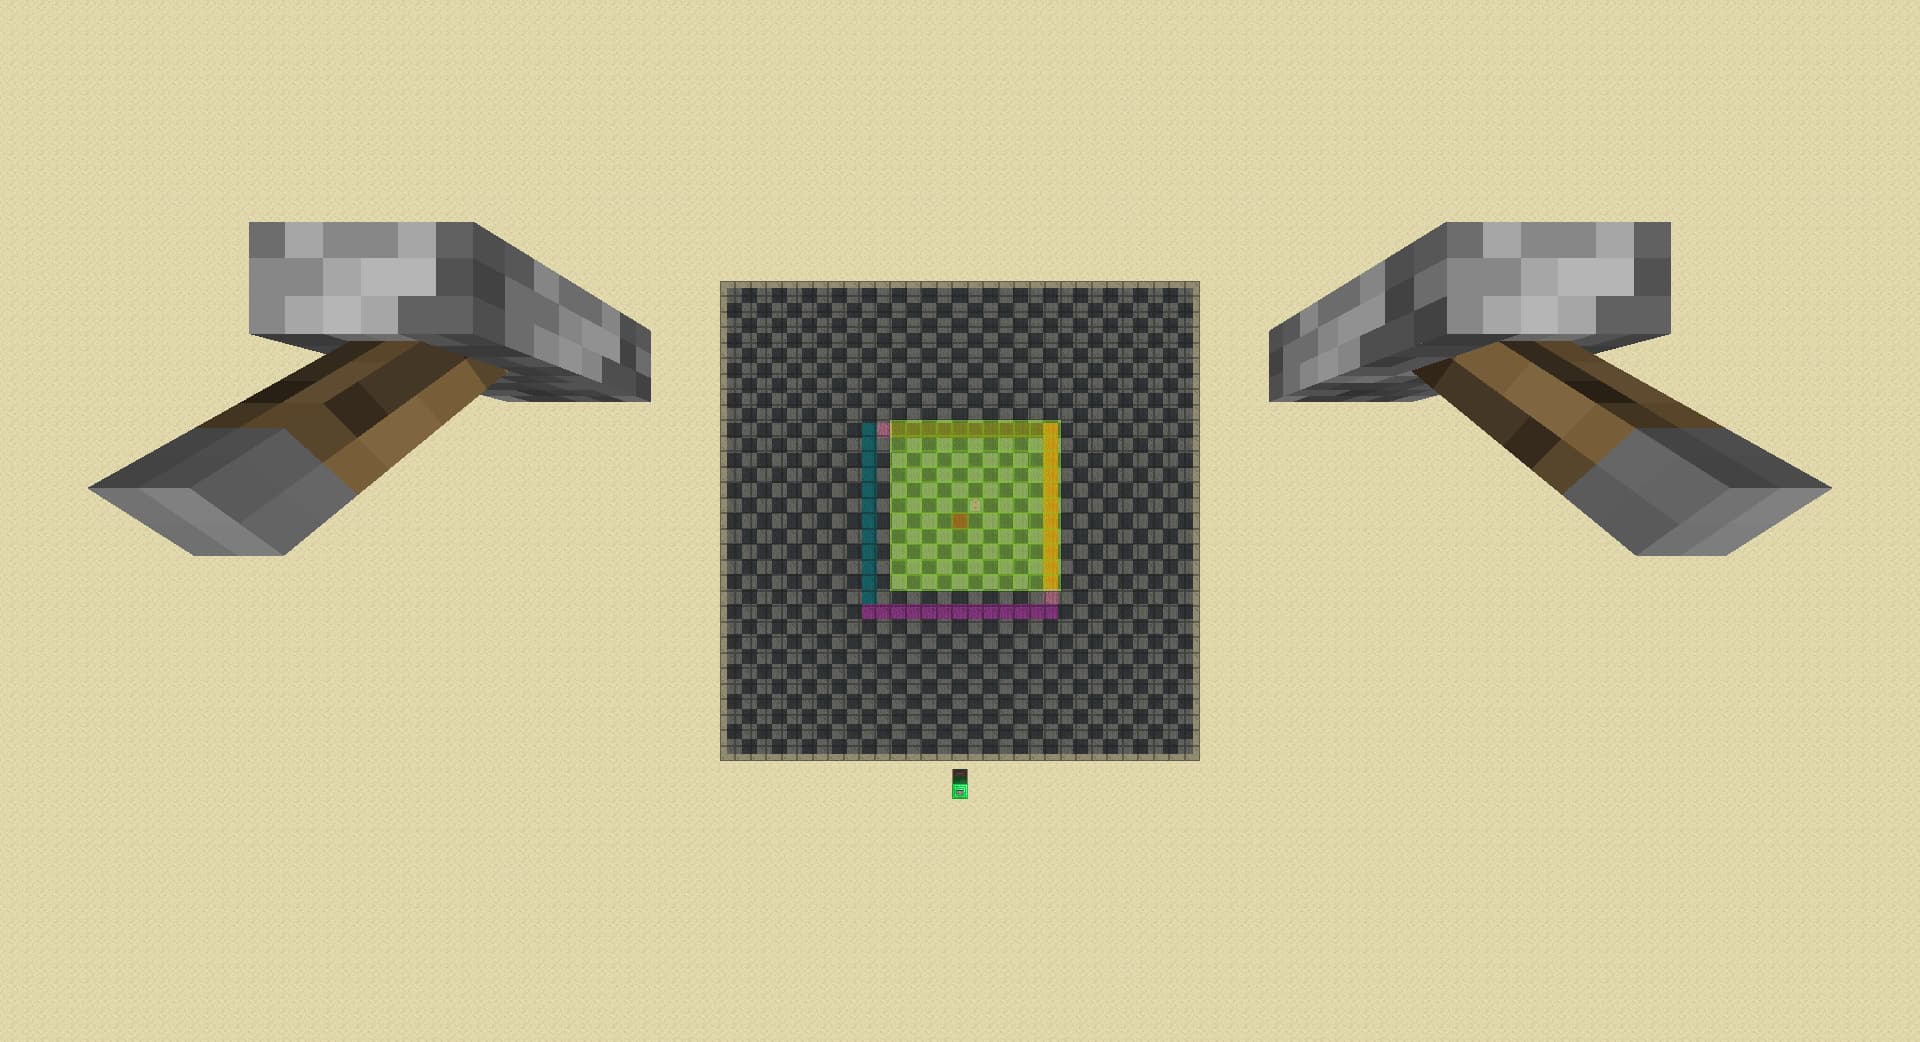
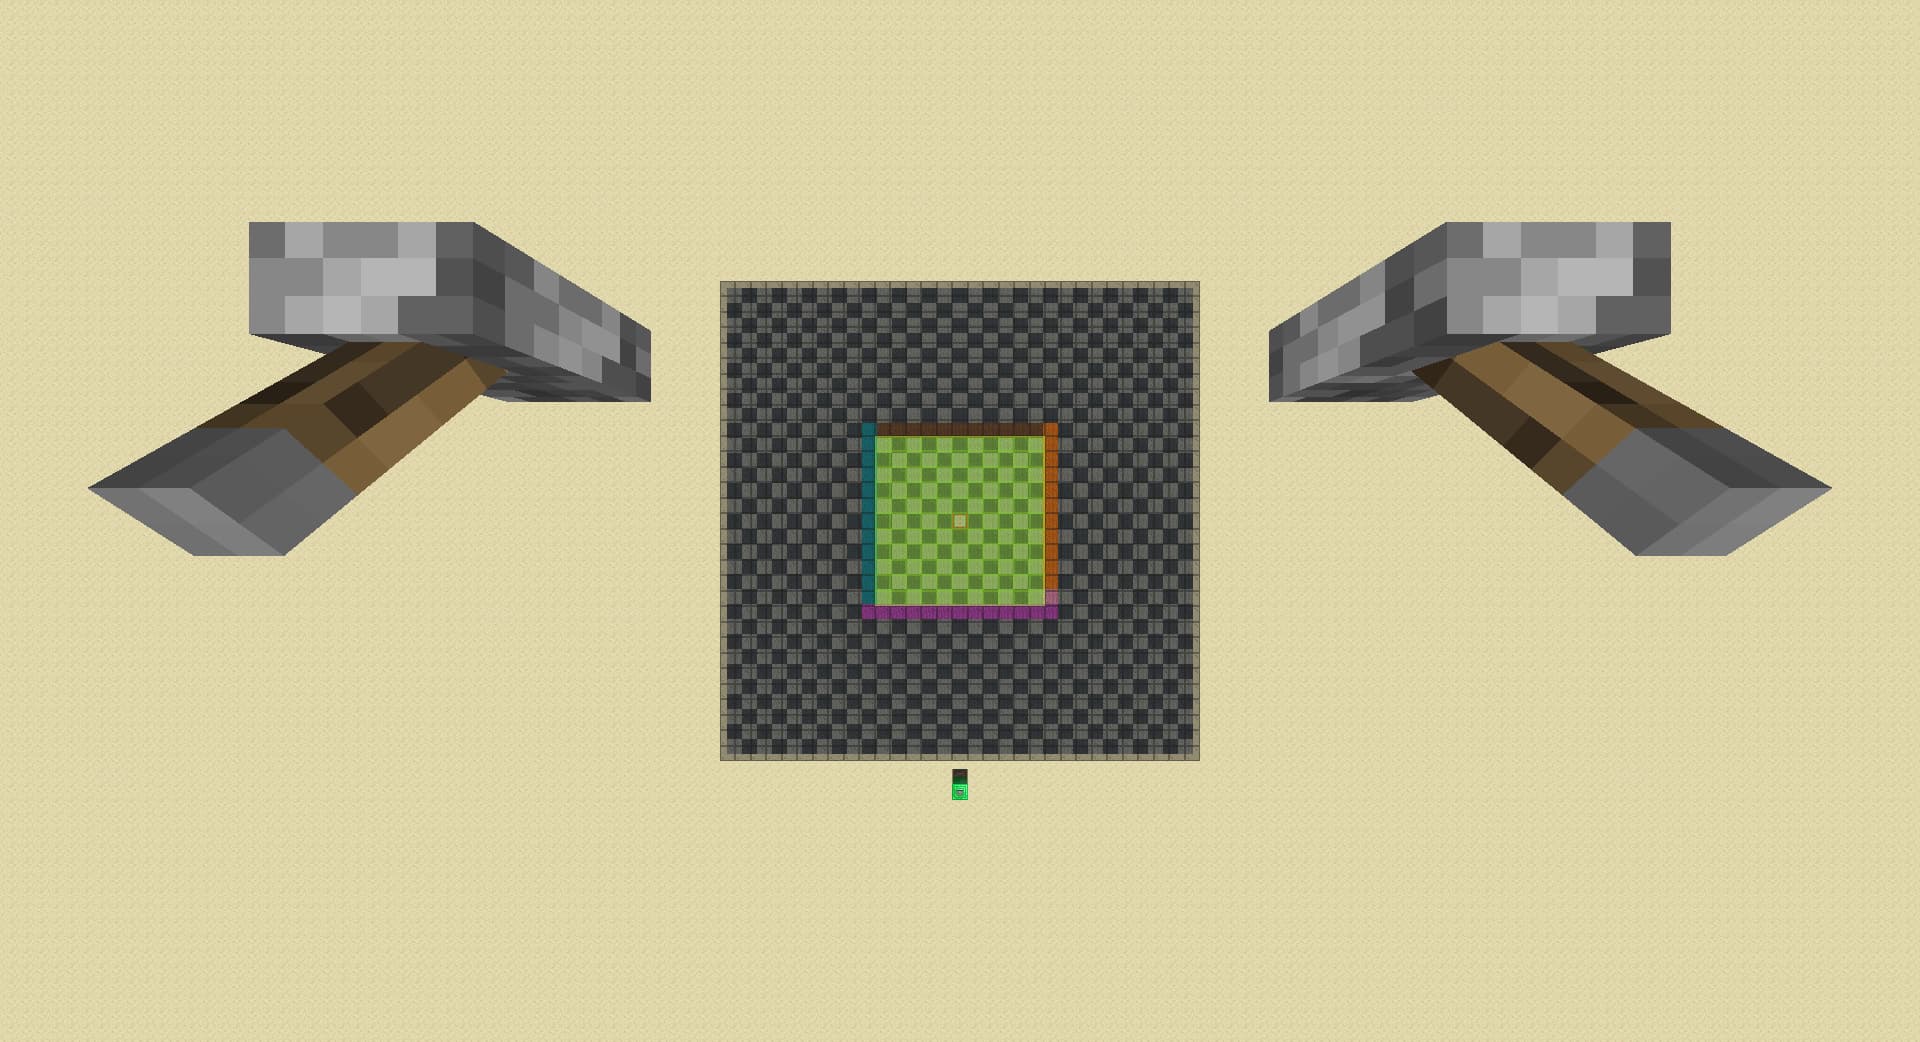
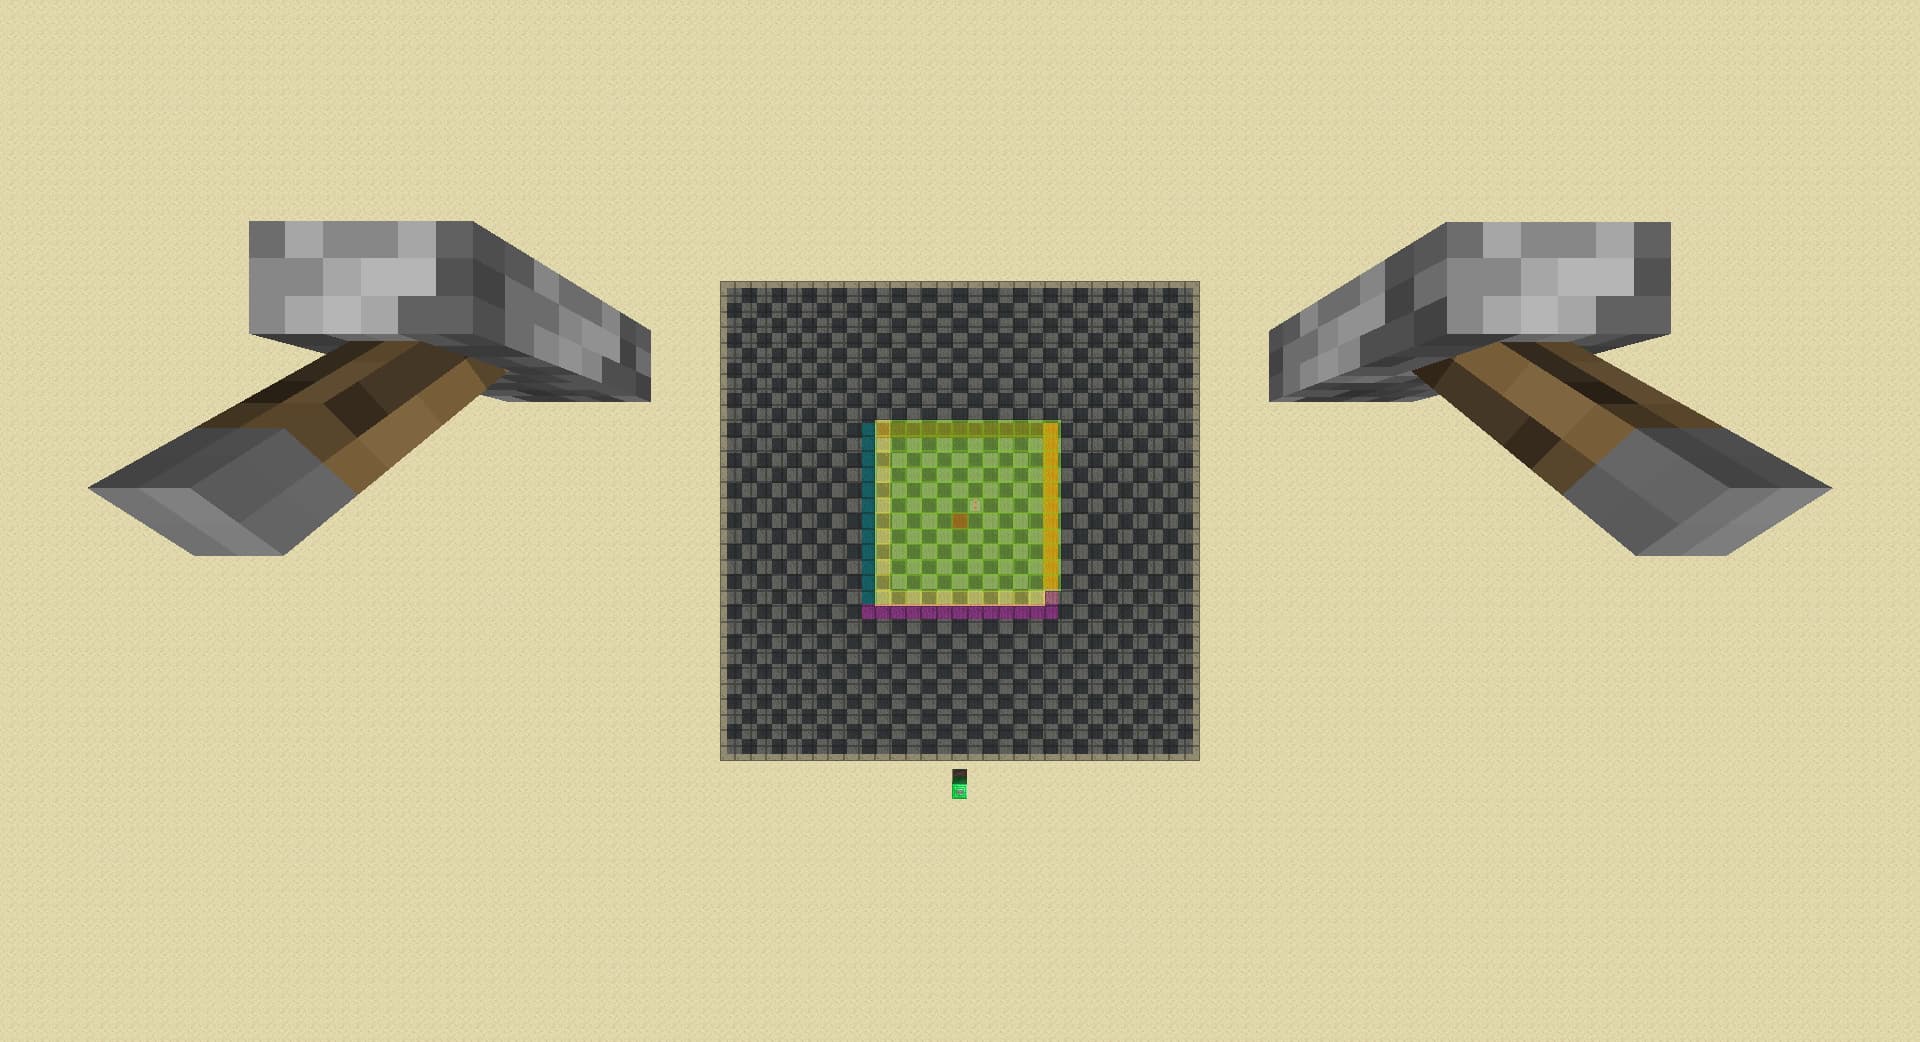
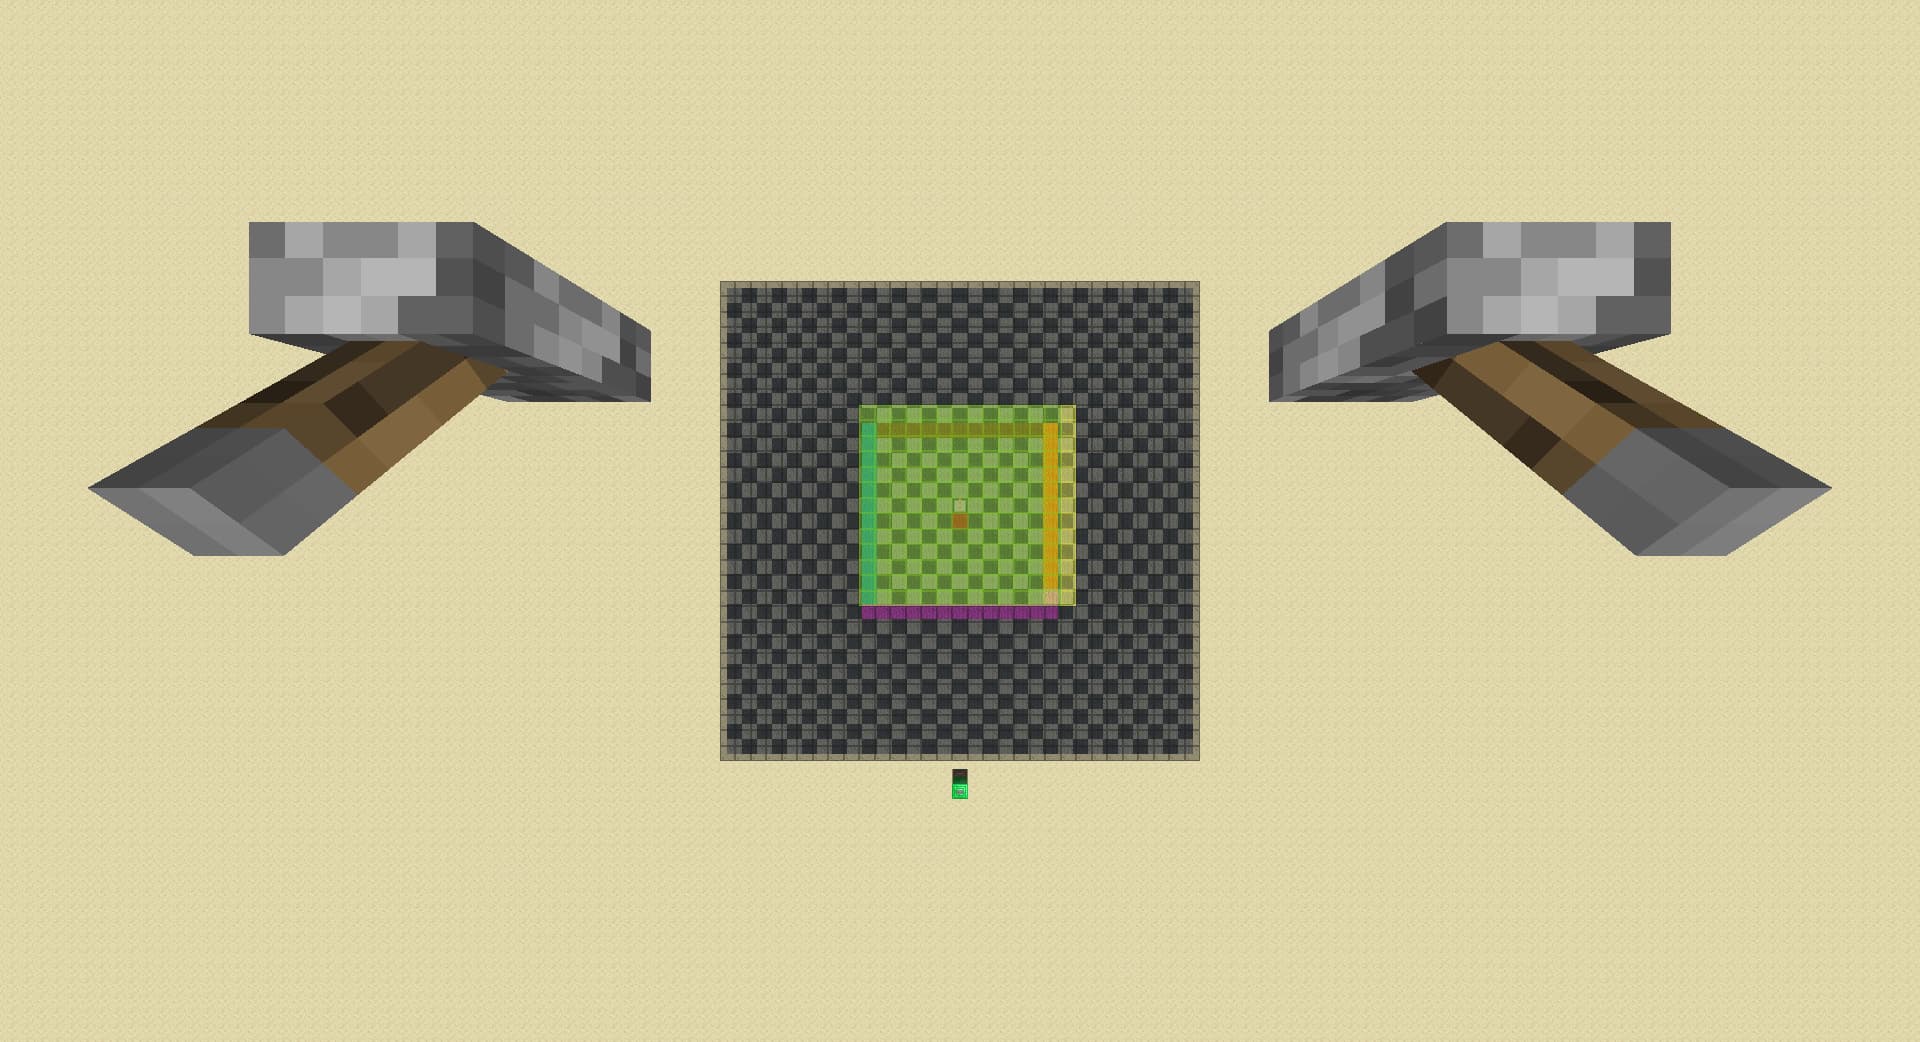
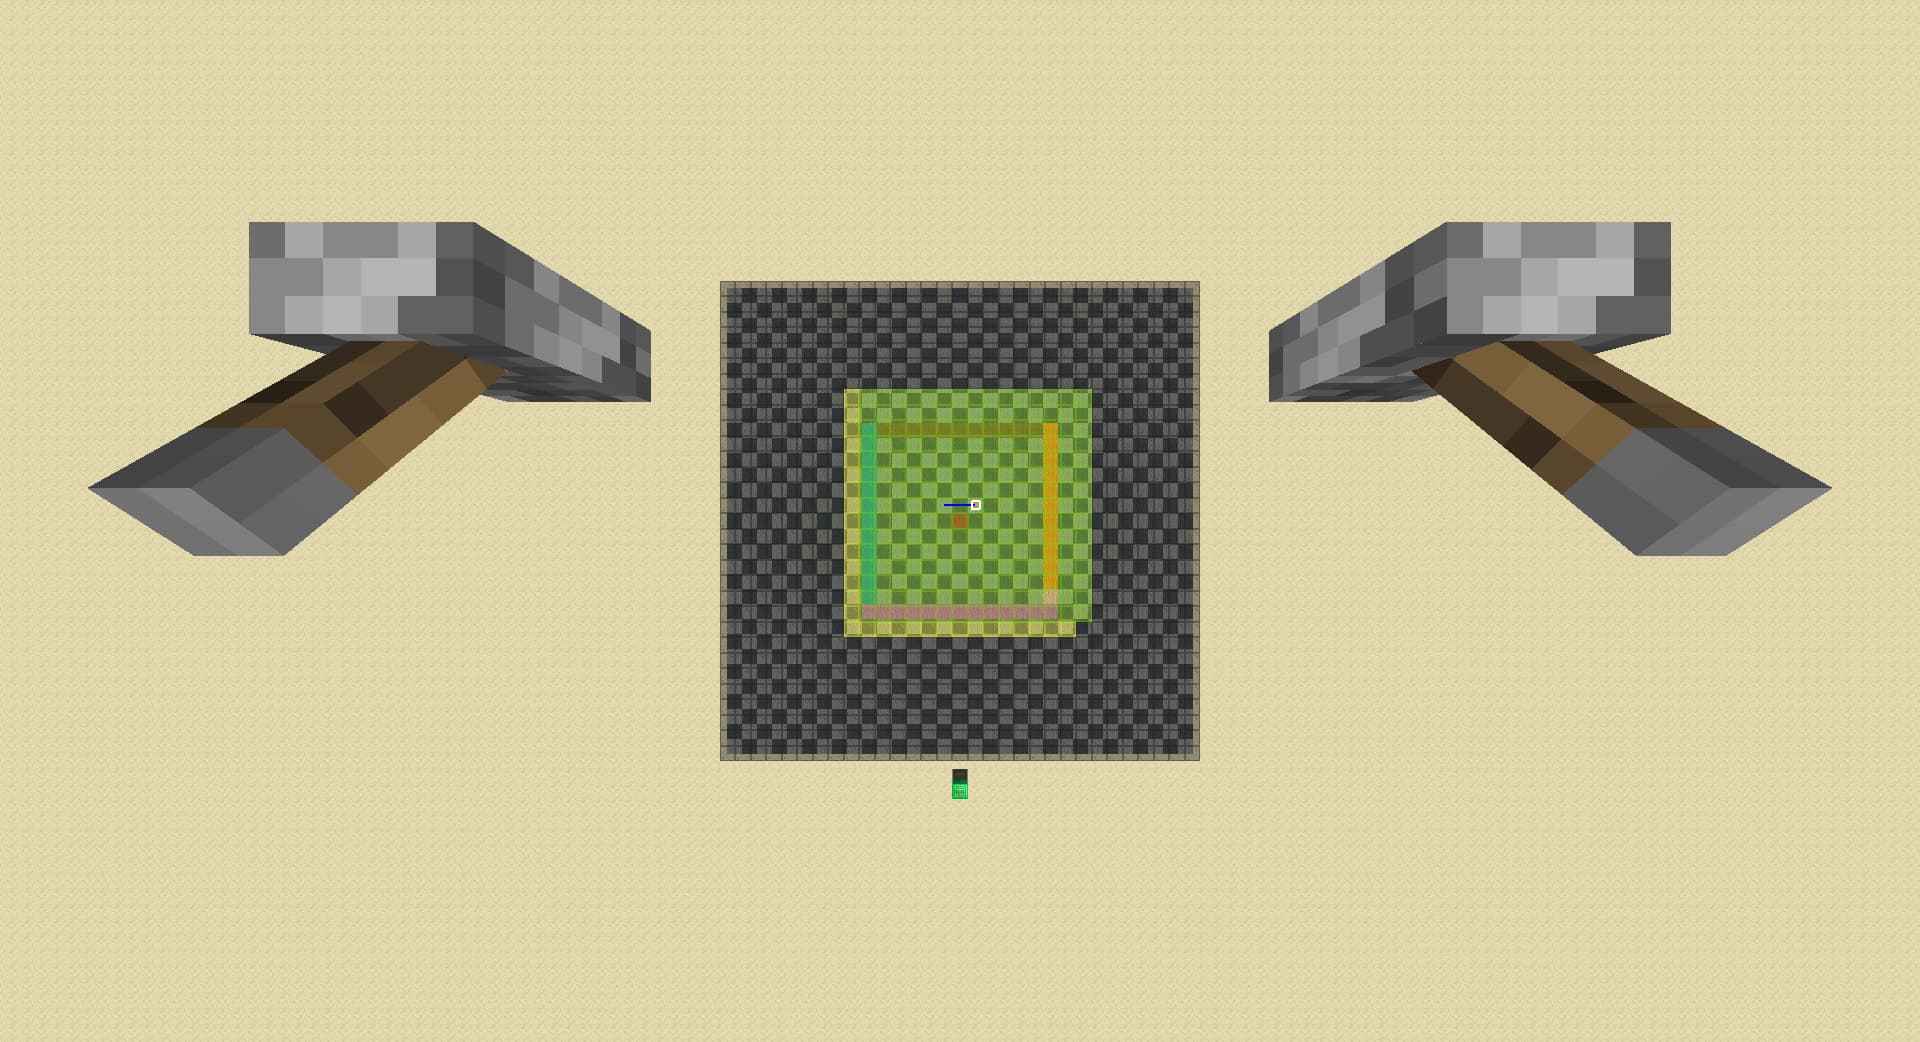
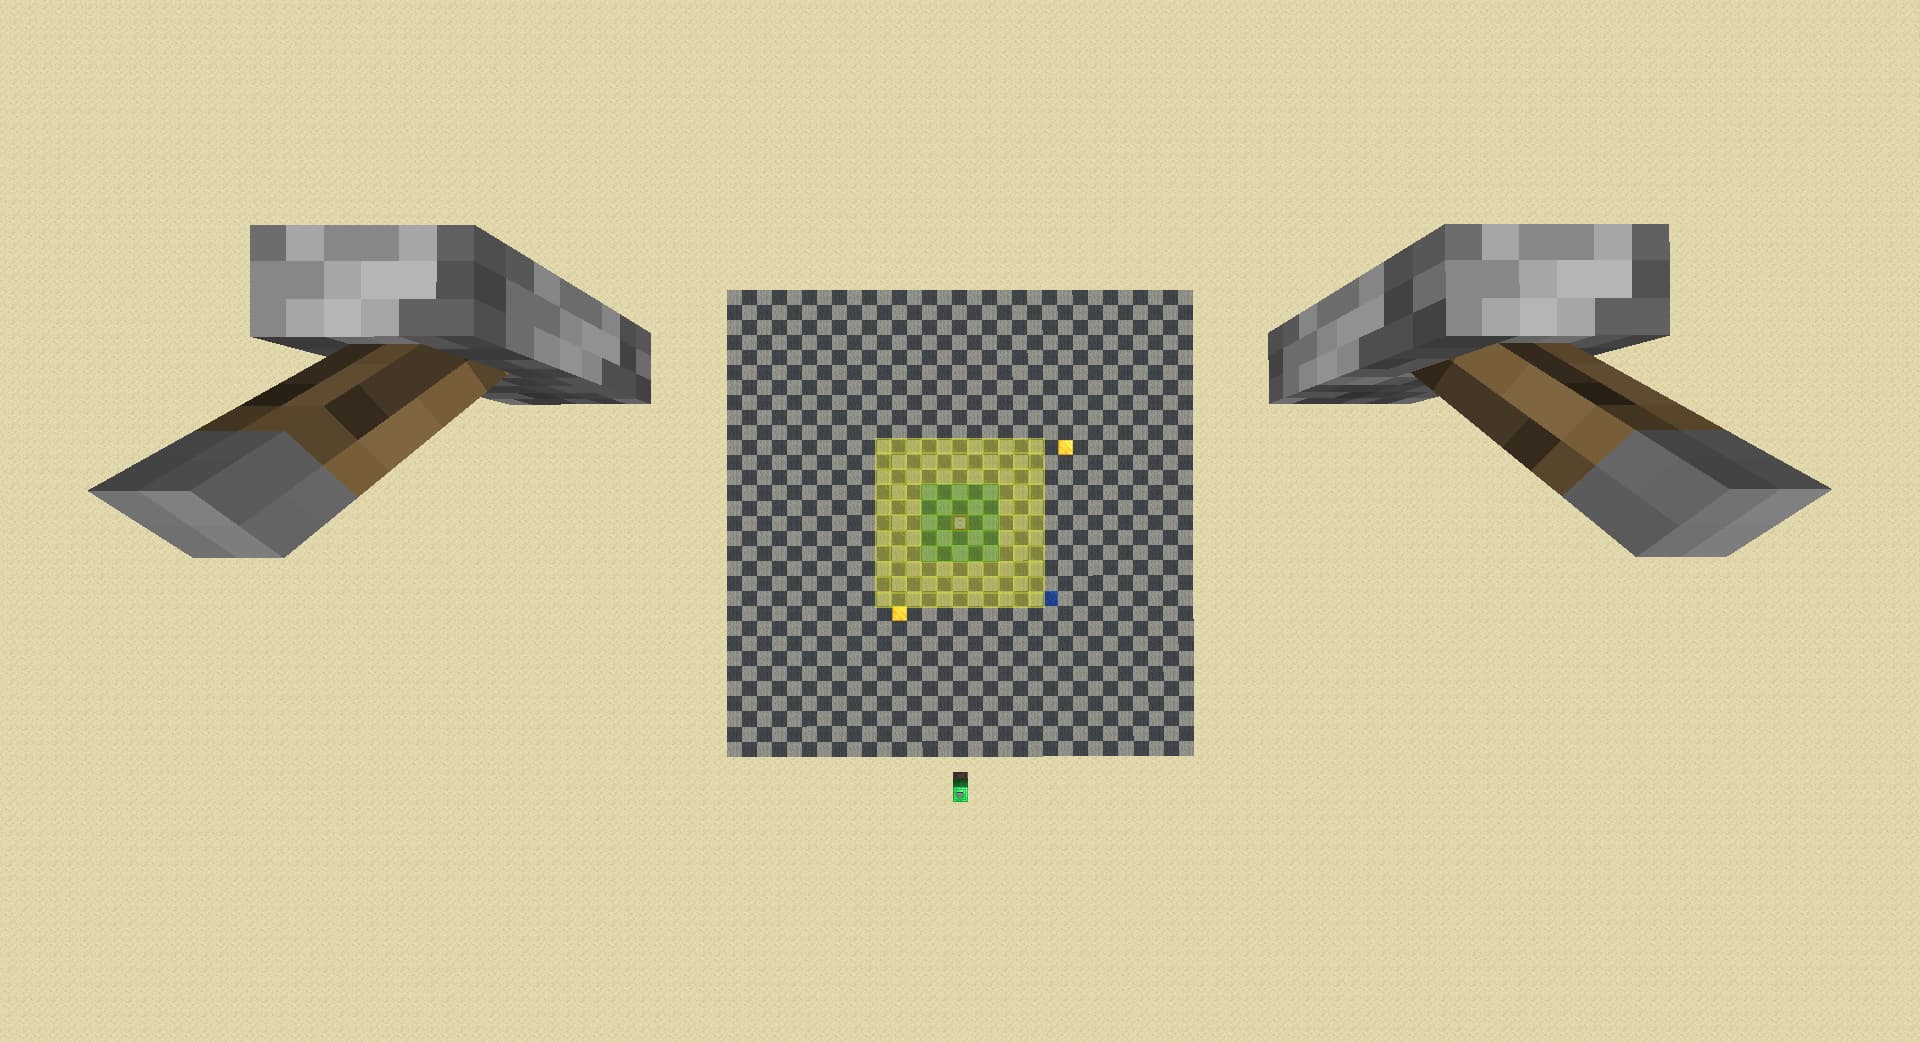
16rd at the start:
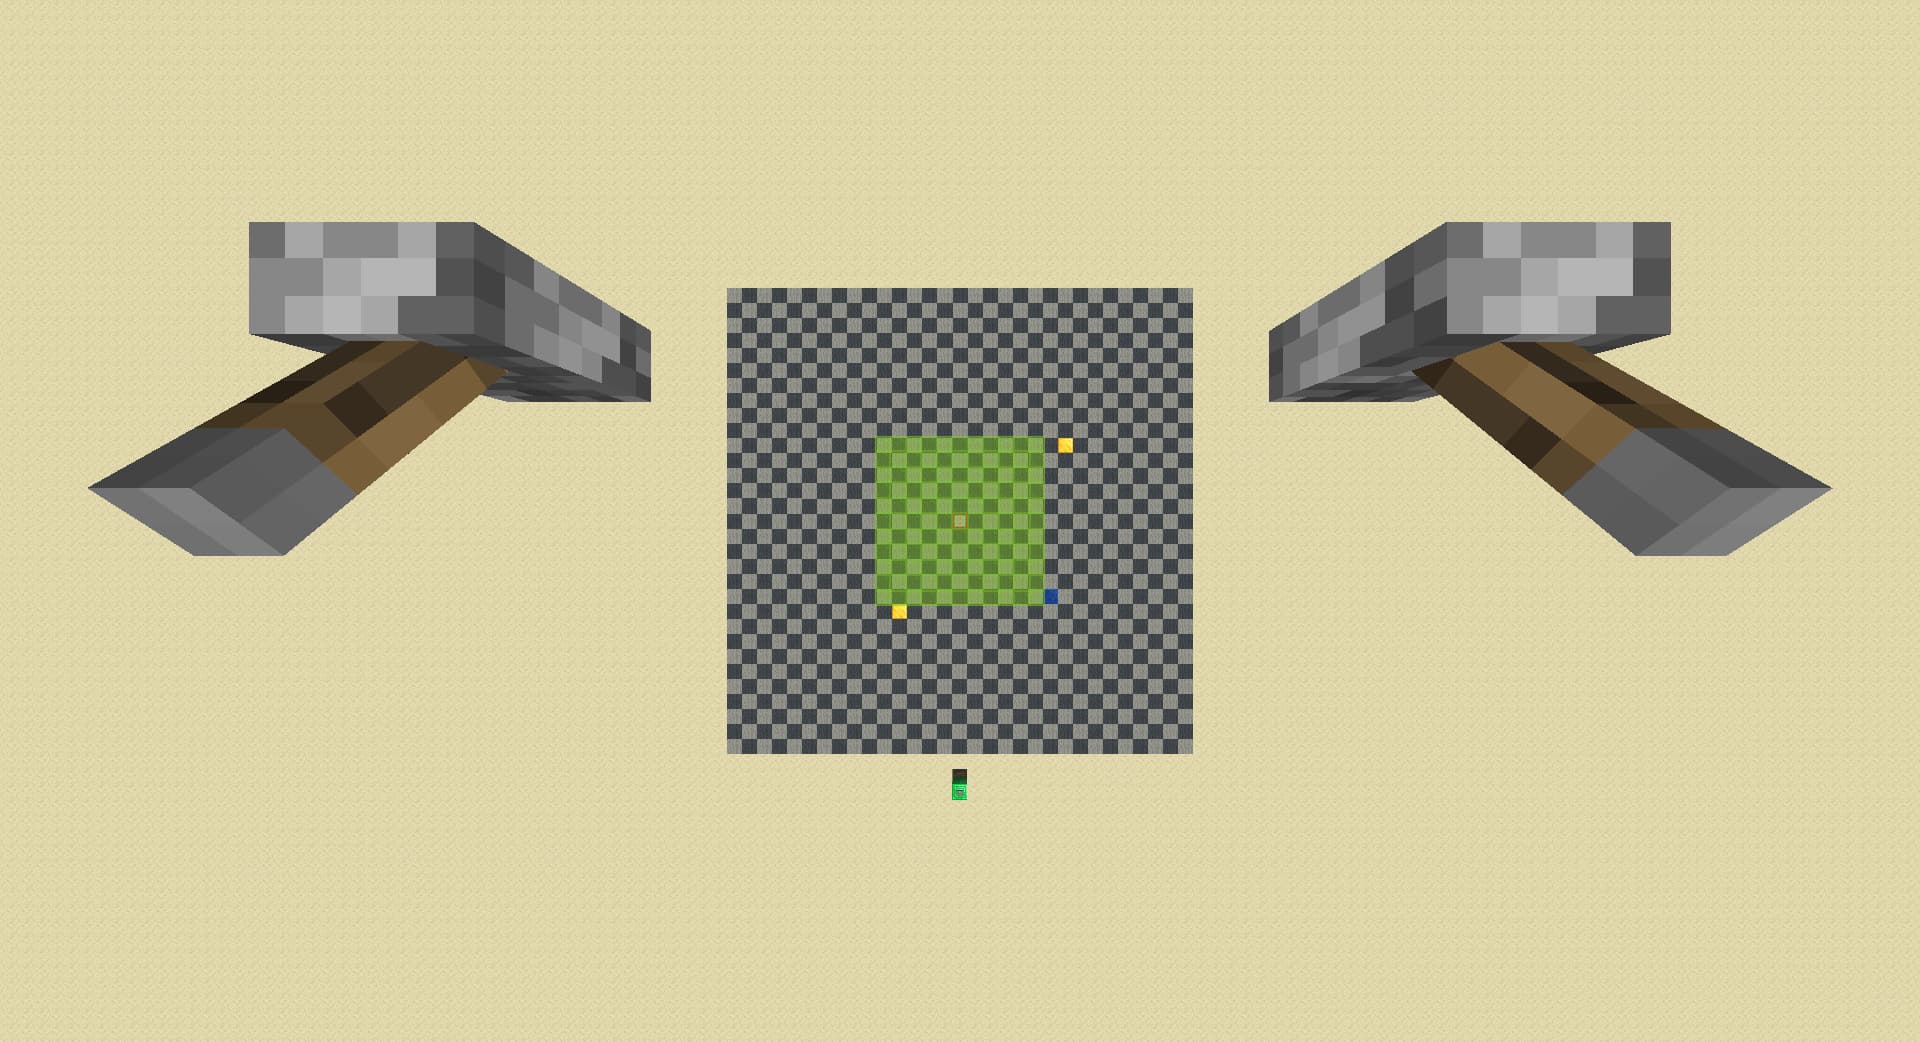
down rd till spawner goes away:
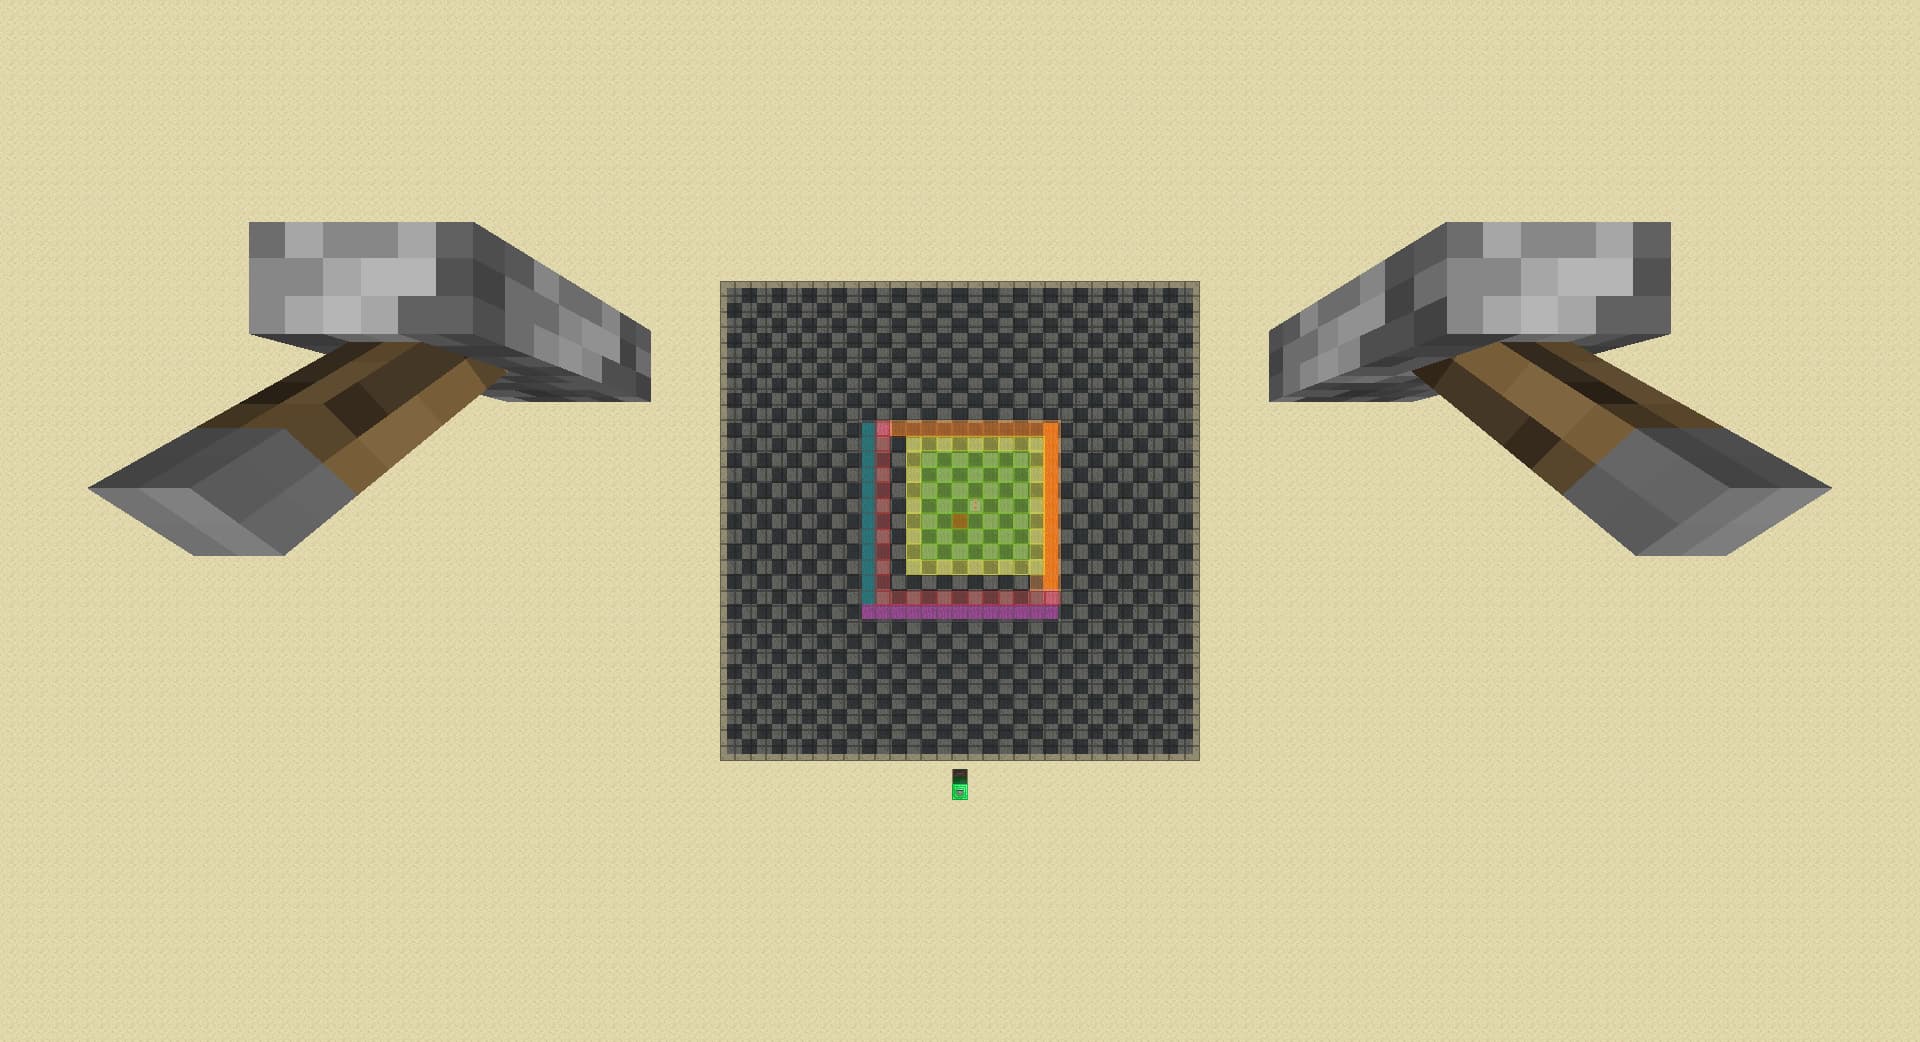
up 3:
walk front 1 chunk:
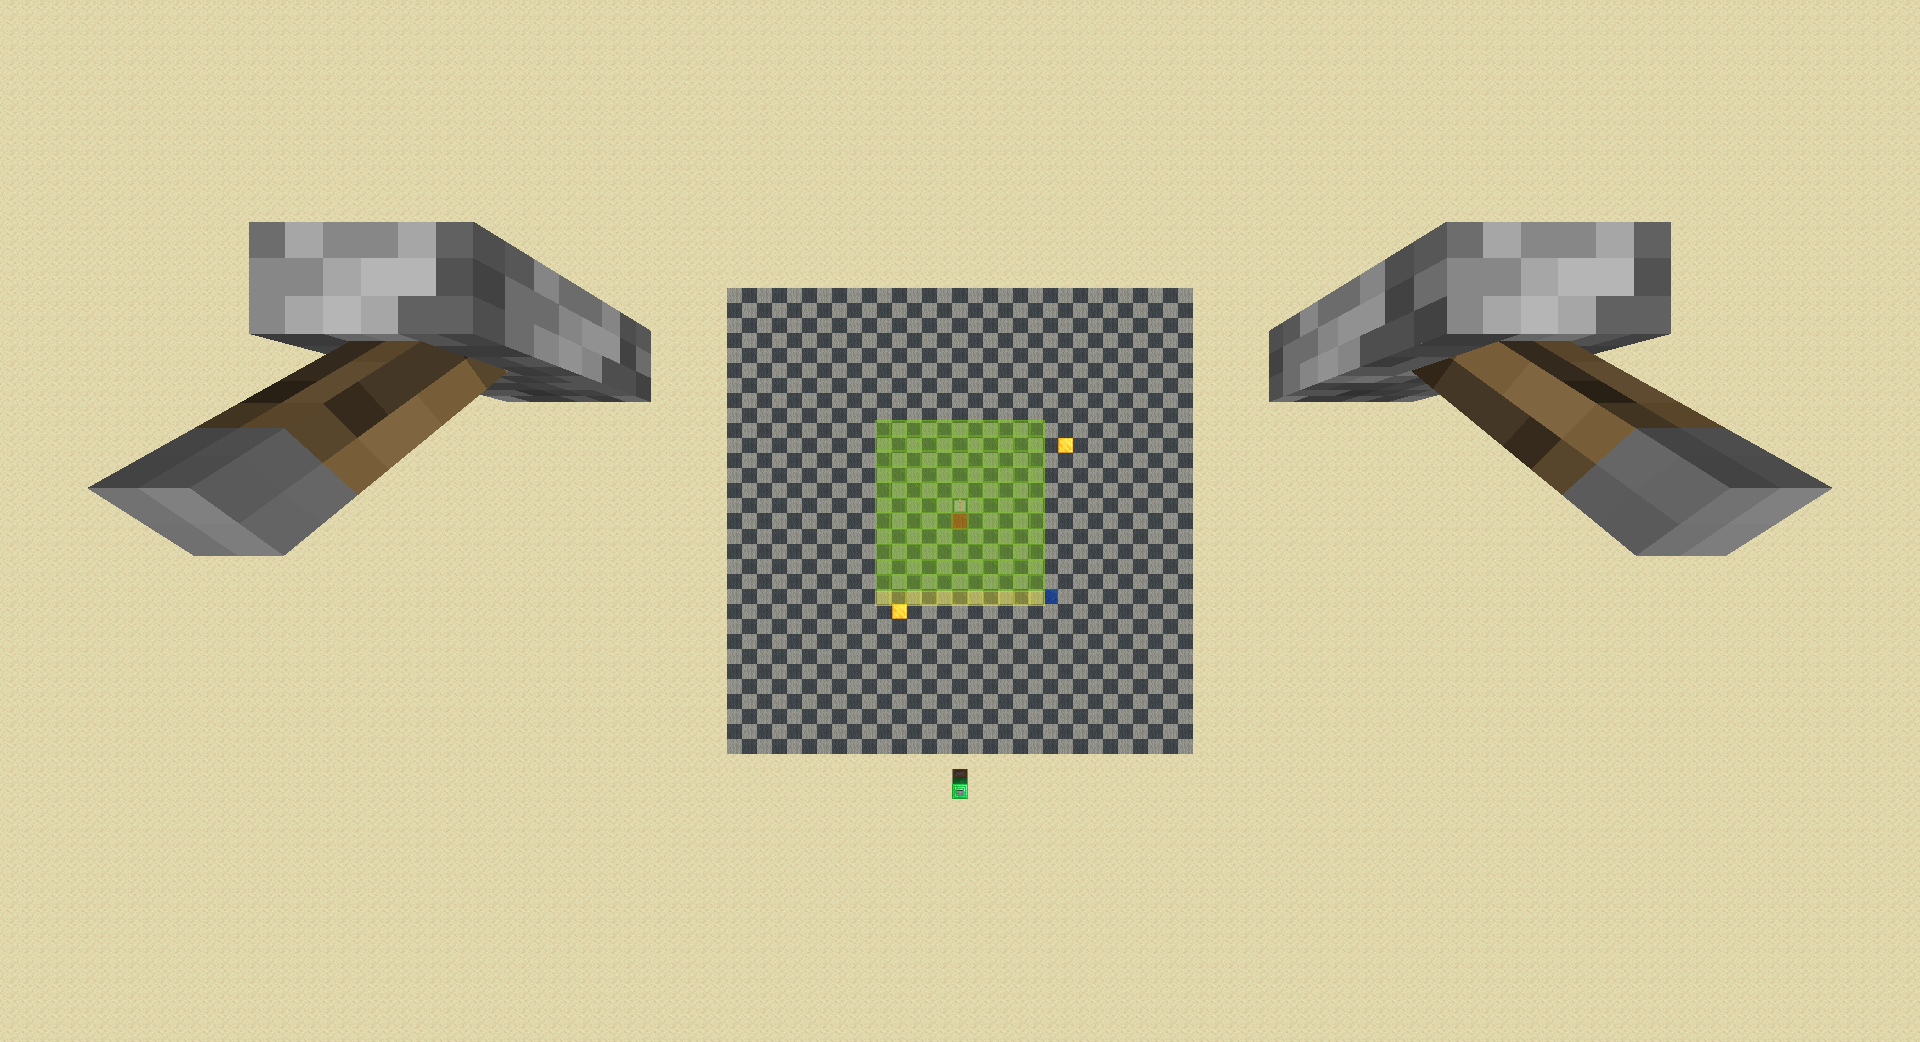
walk right 1 chunk:
raise rd by 1, in both cases a spawner loads:
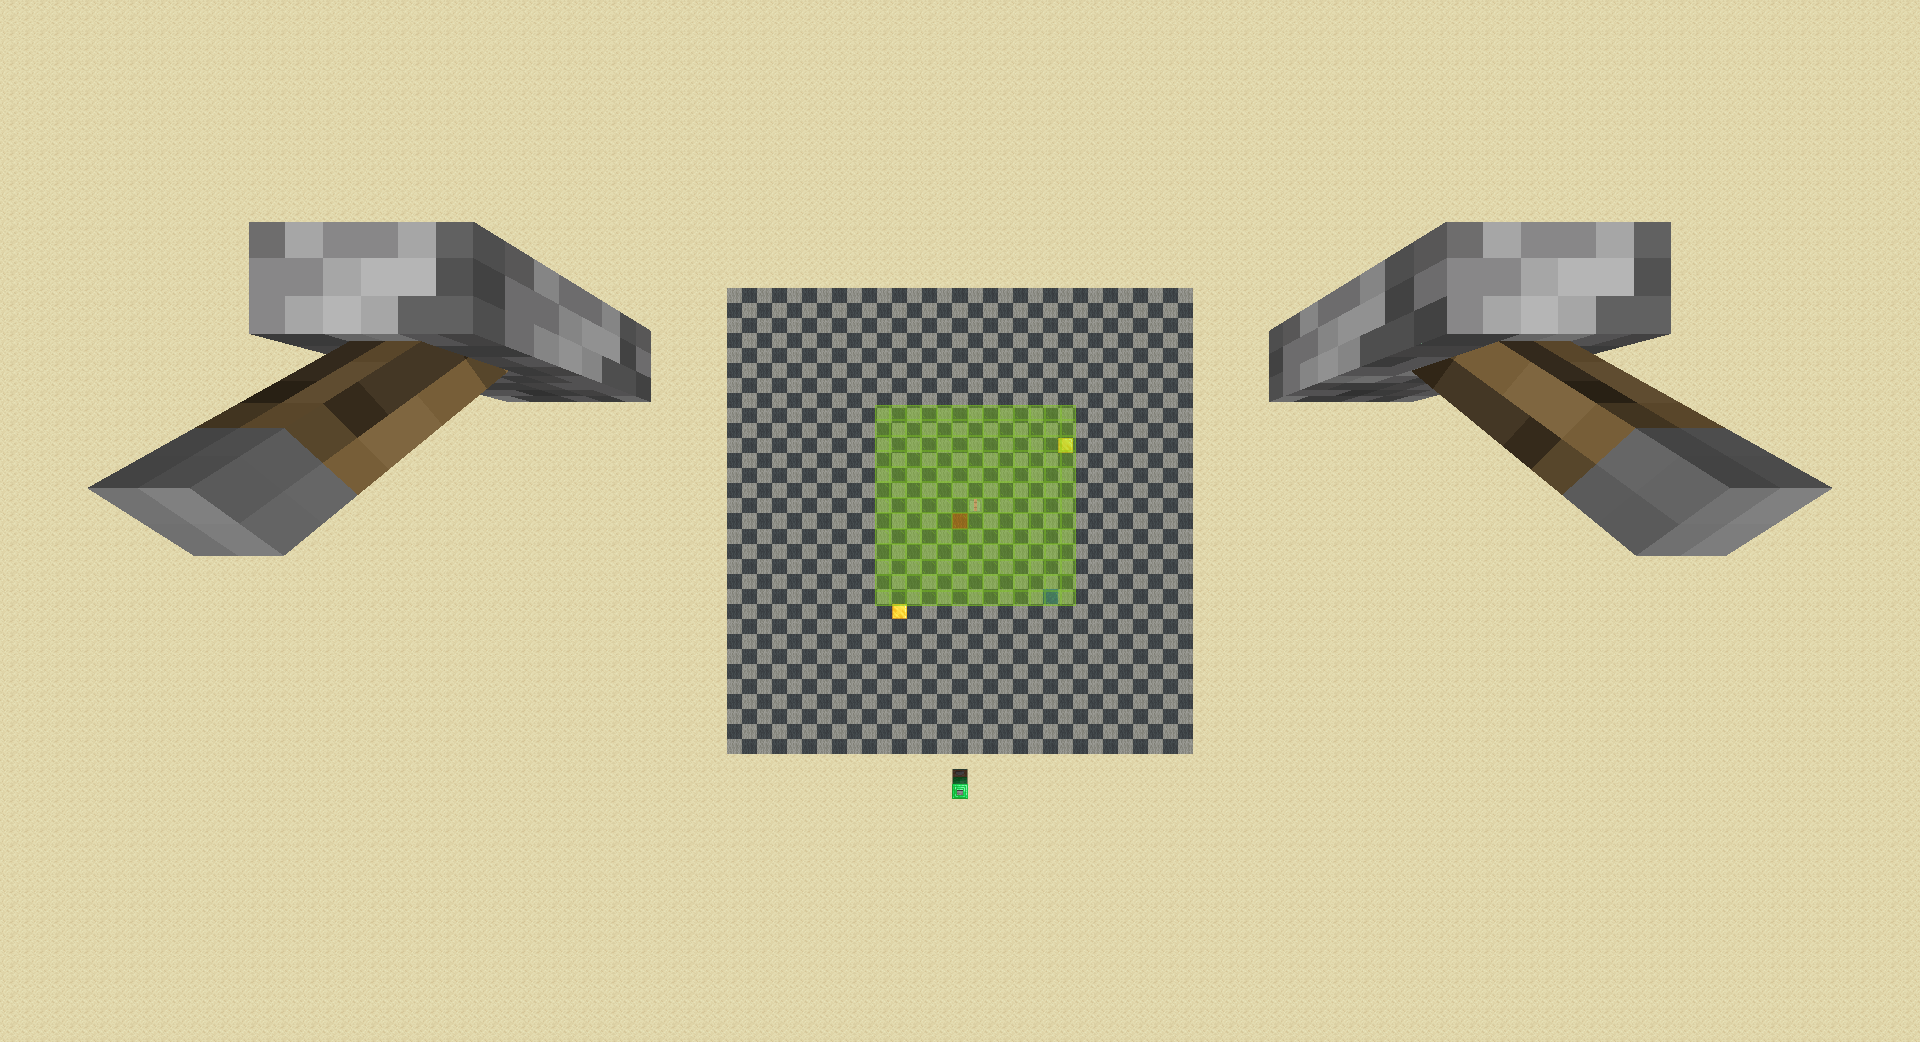
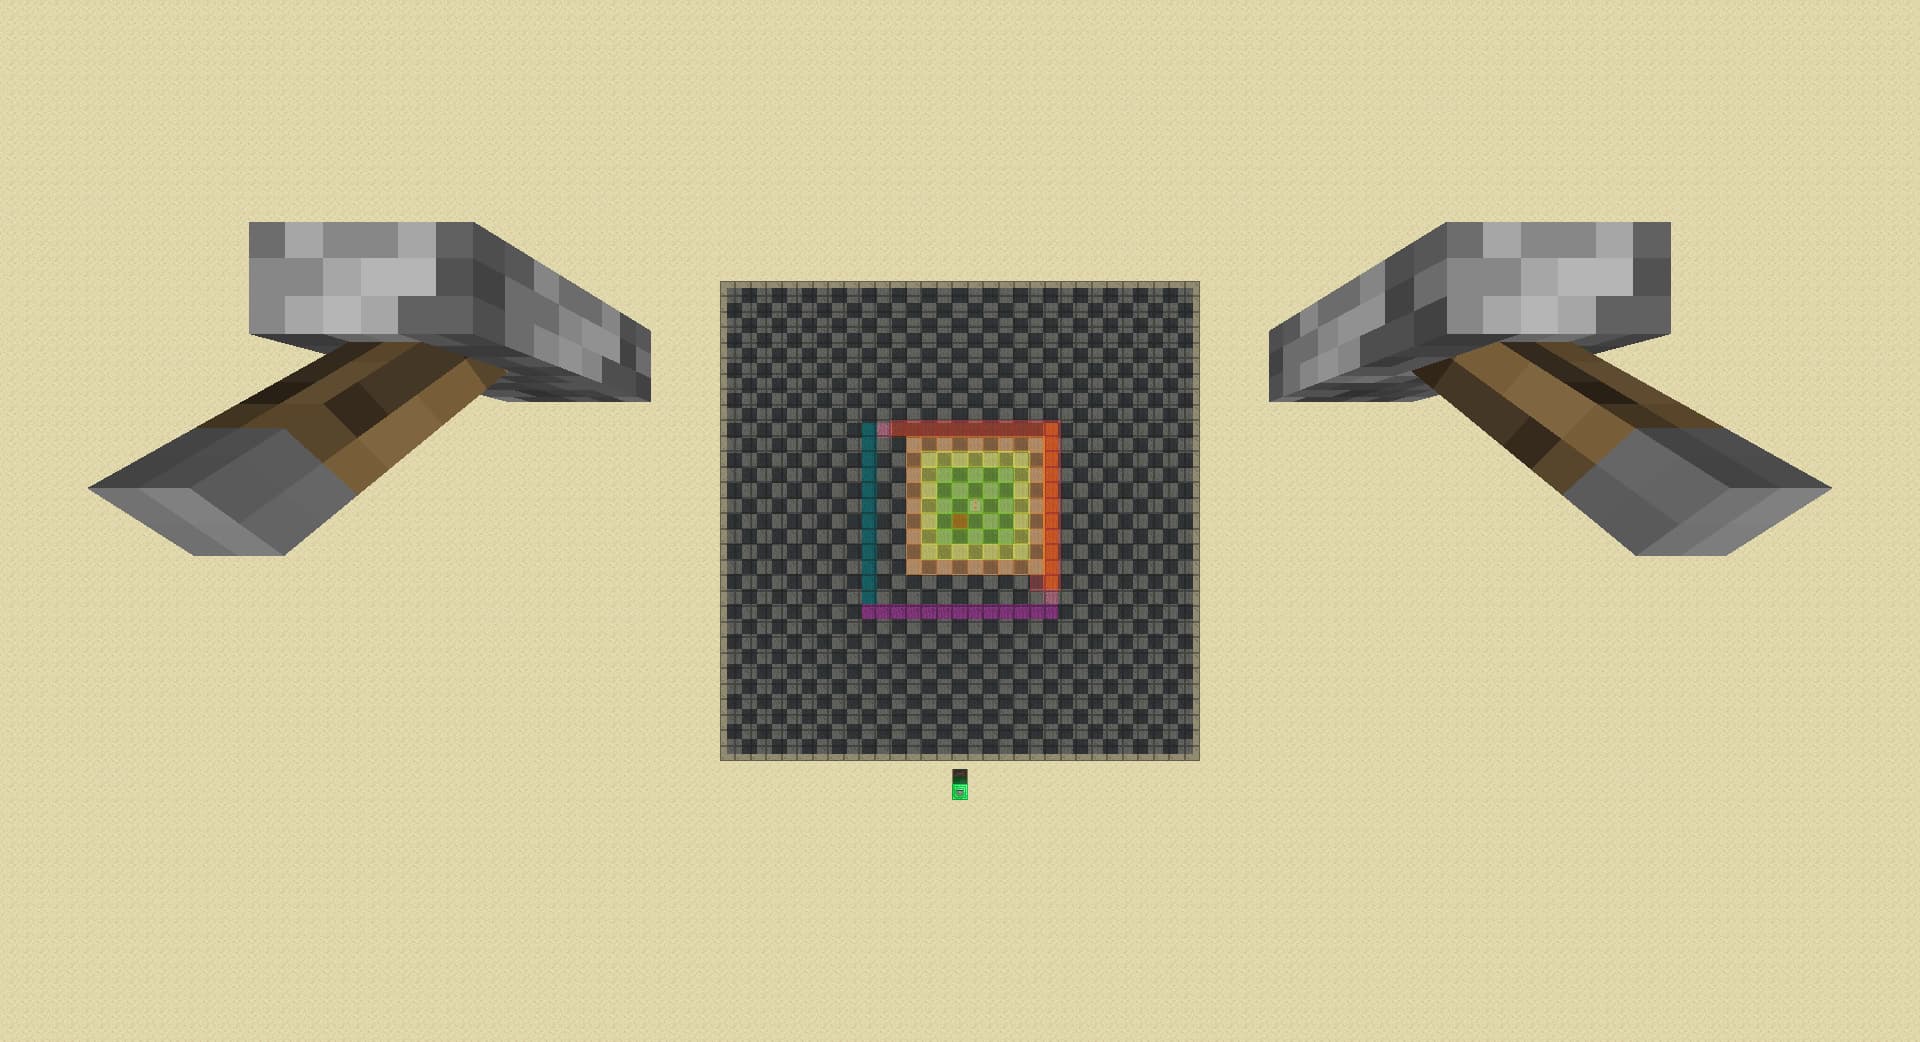
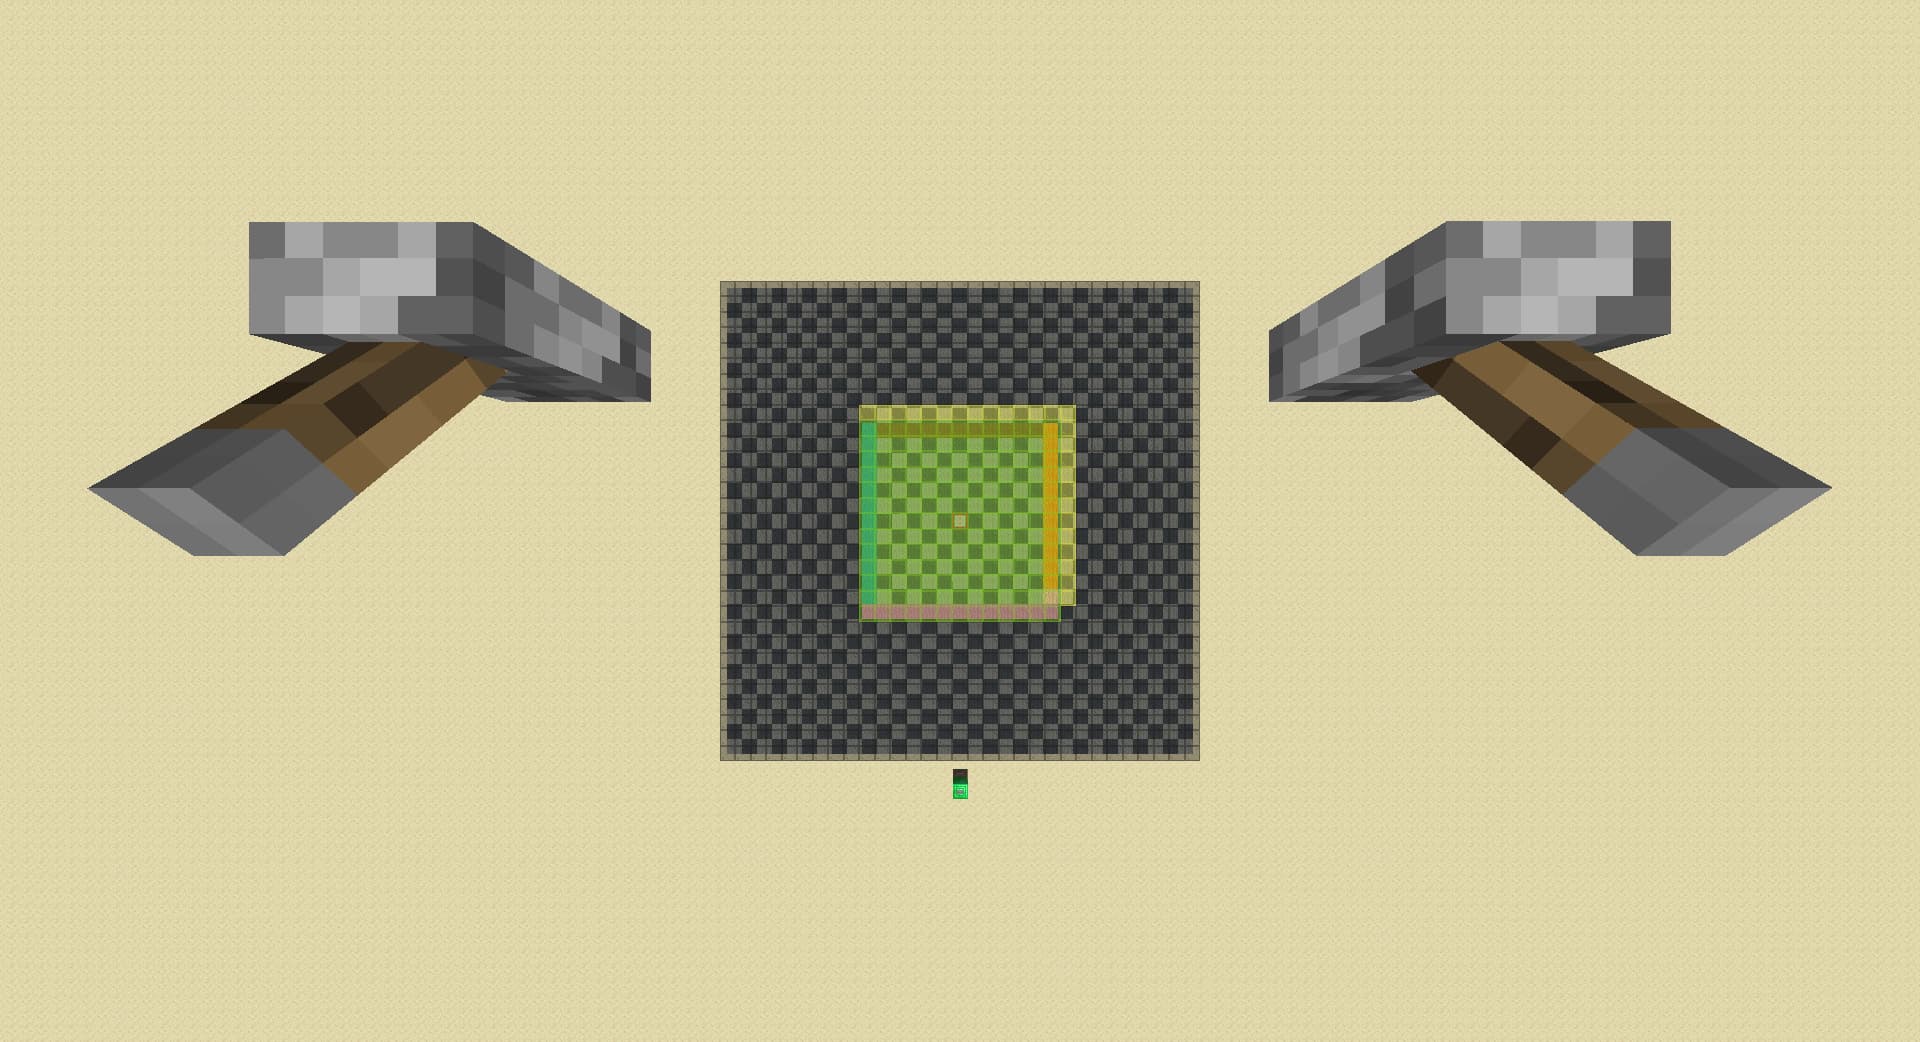
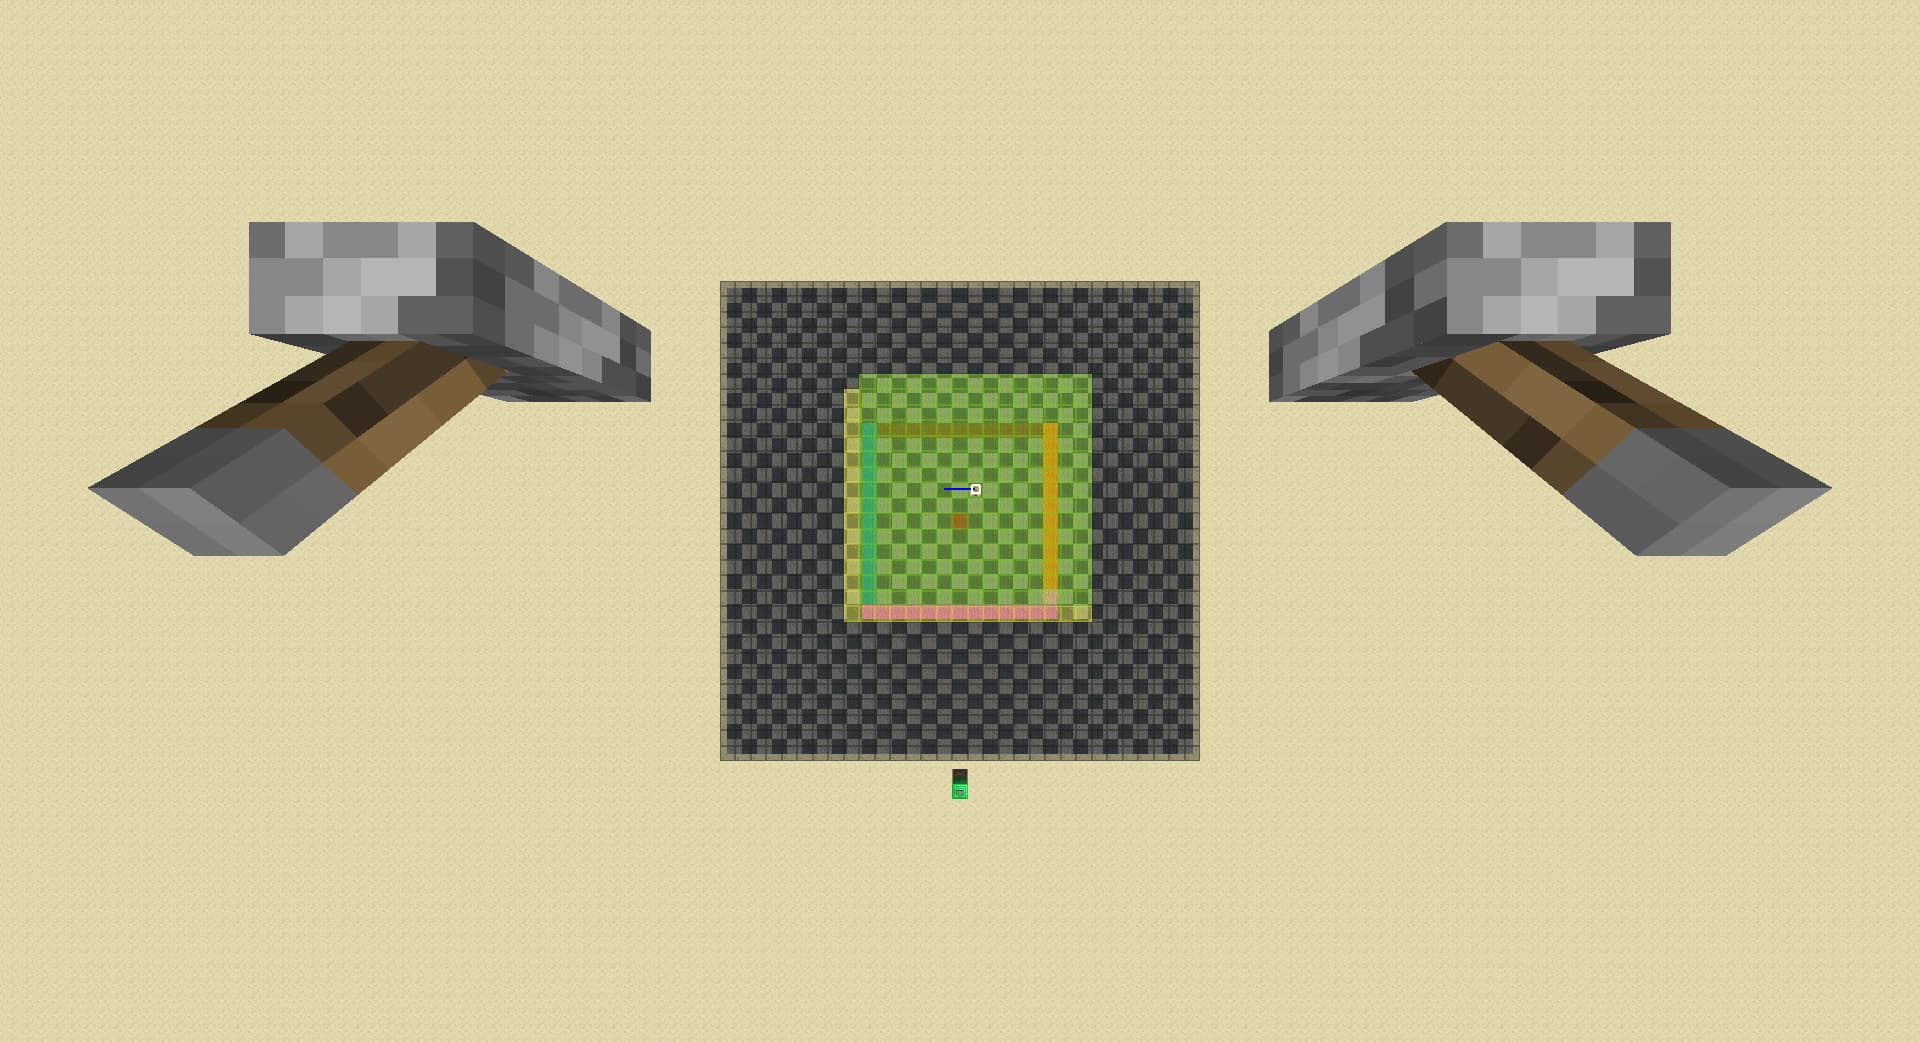
down 3:
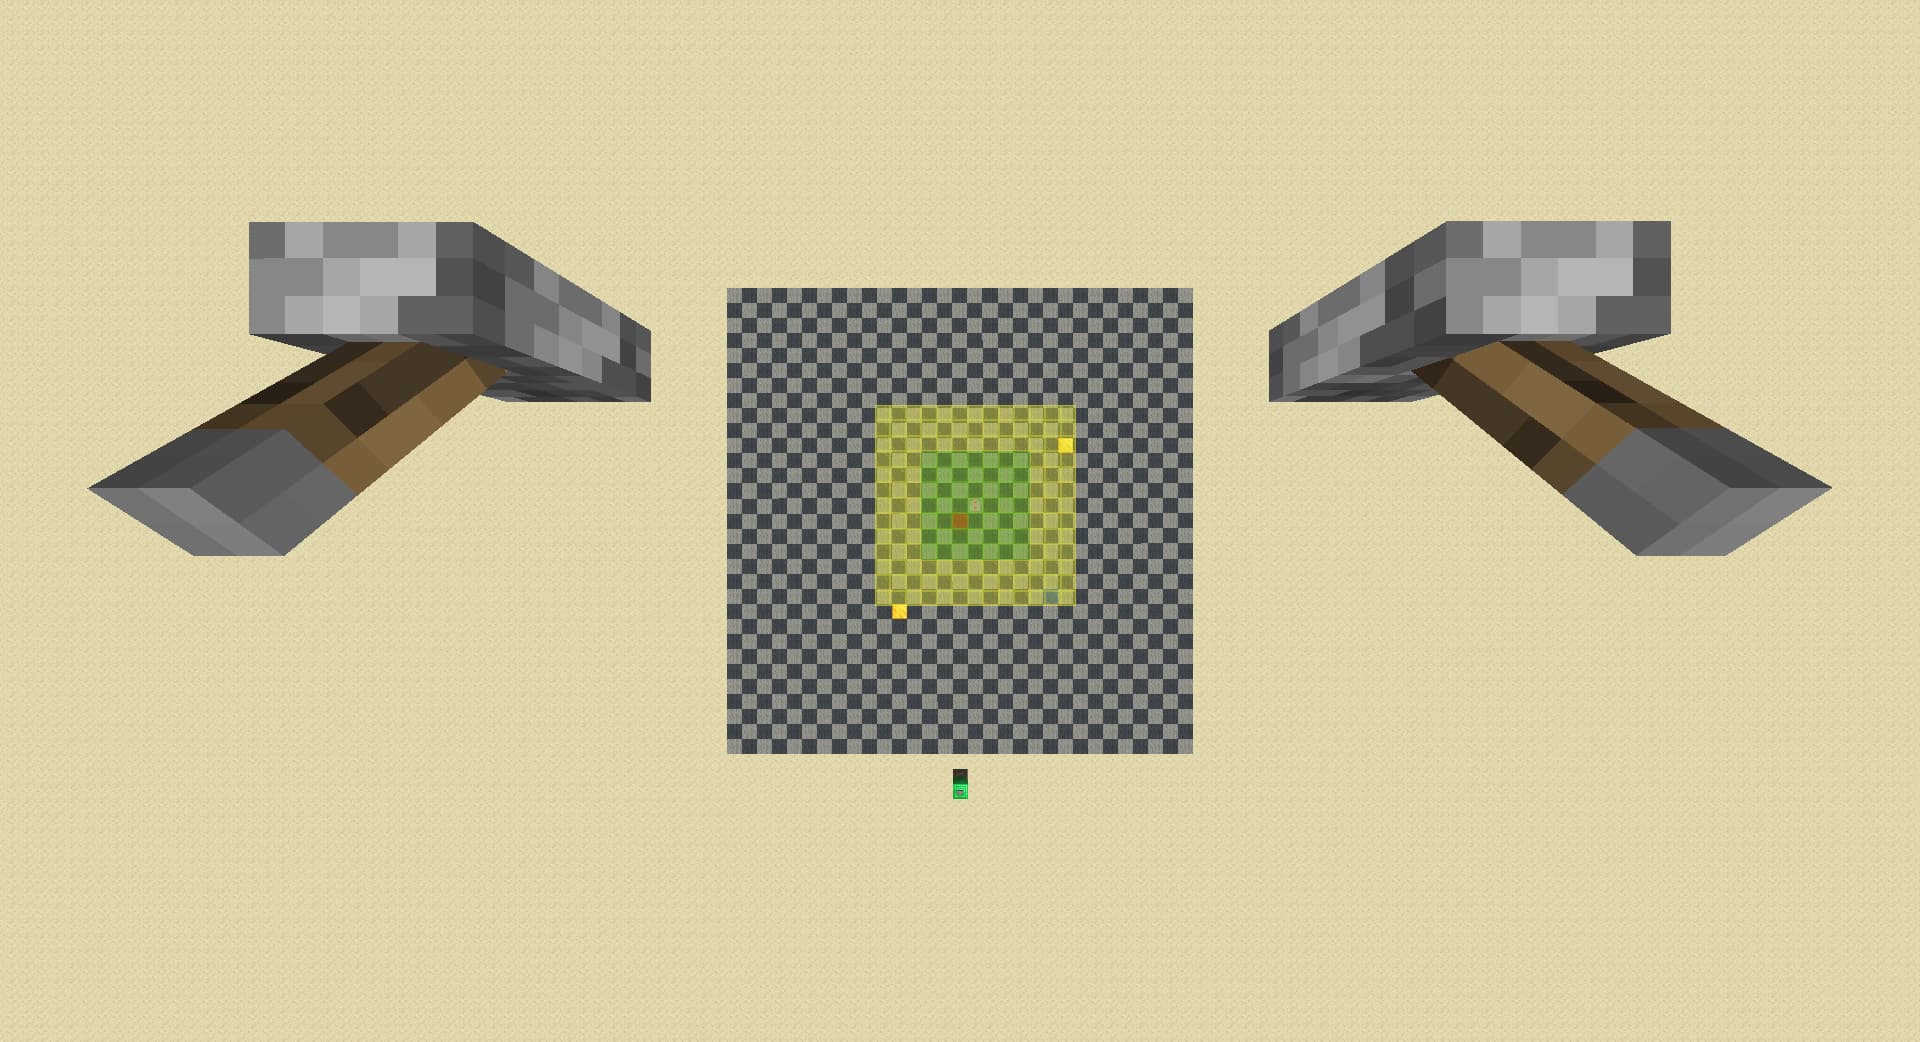
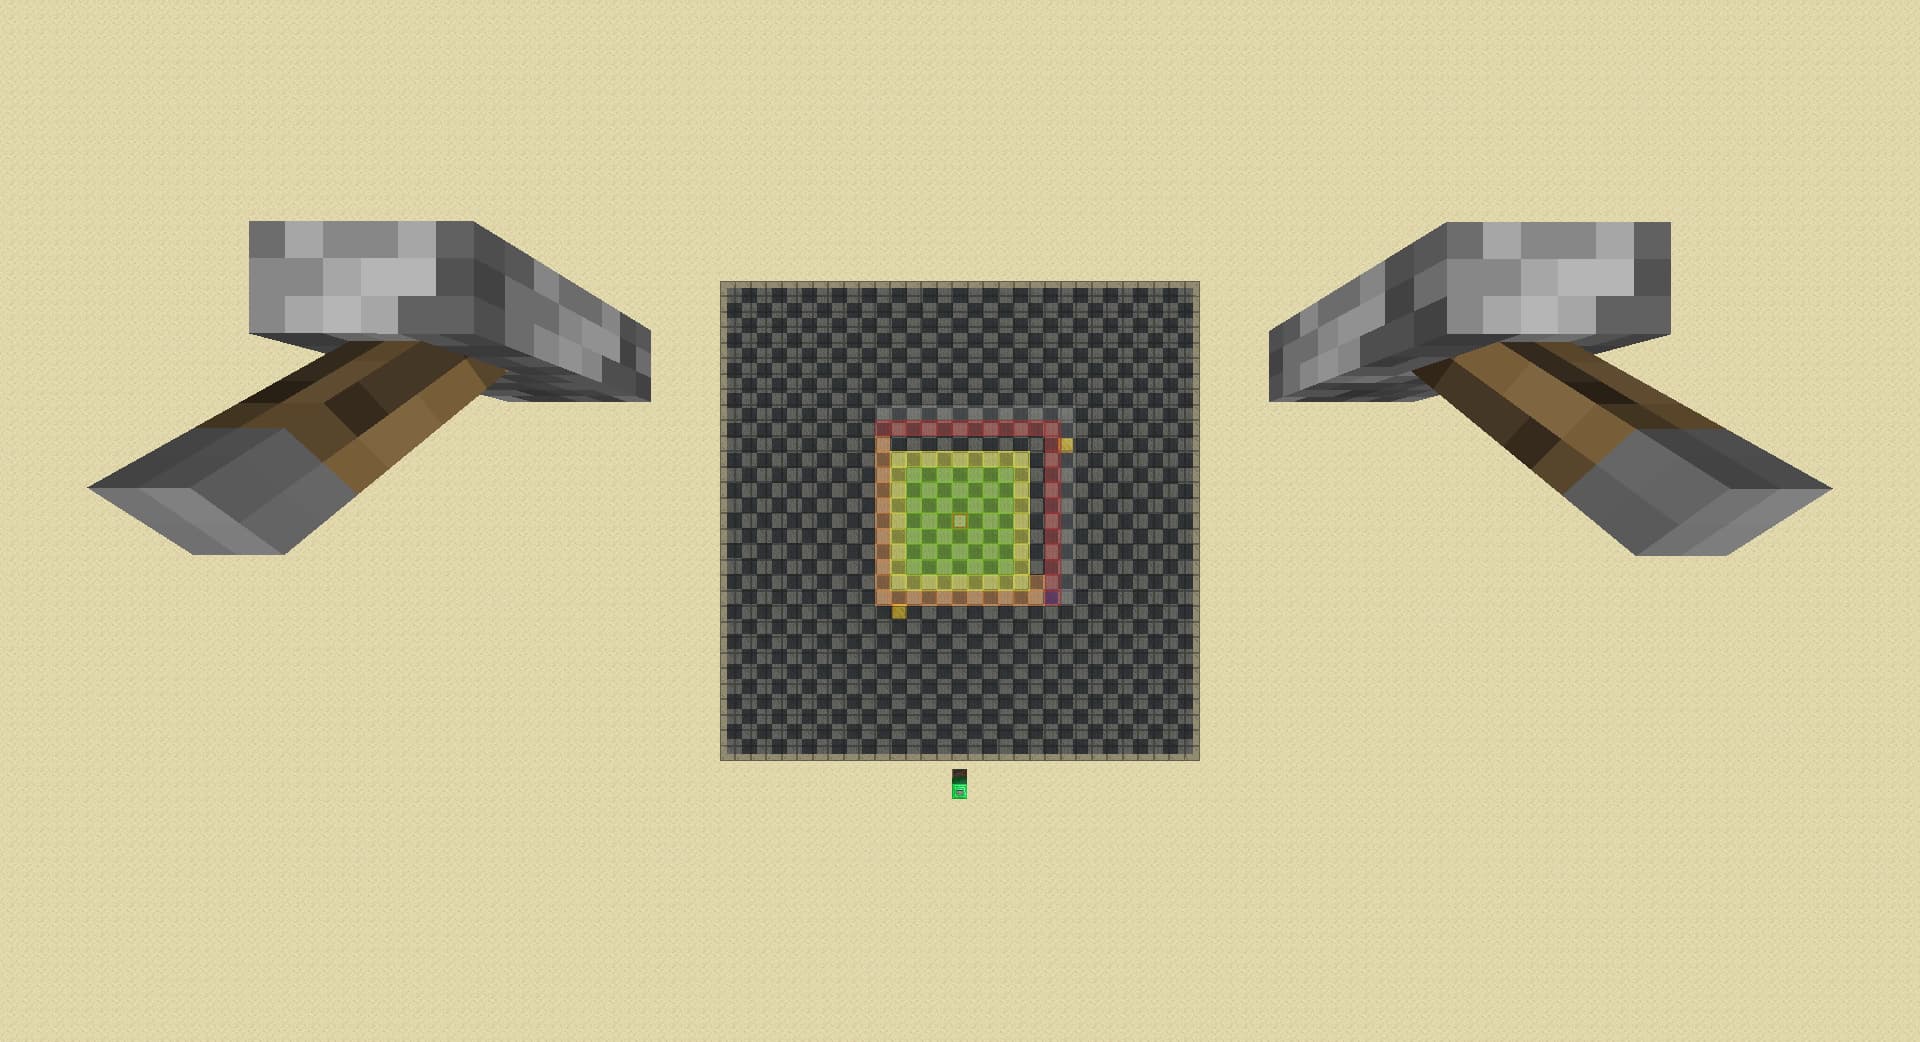
walk left 1 chunk, detects far spawner if spawner disappeared:
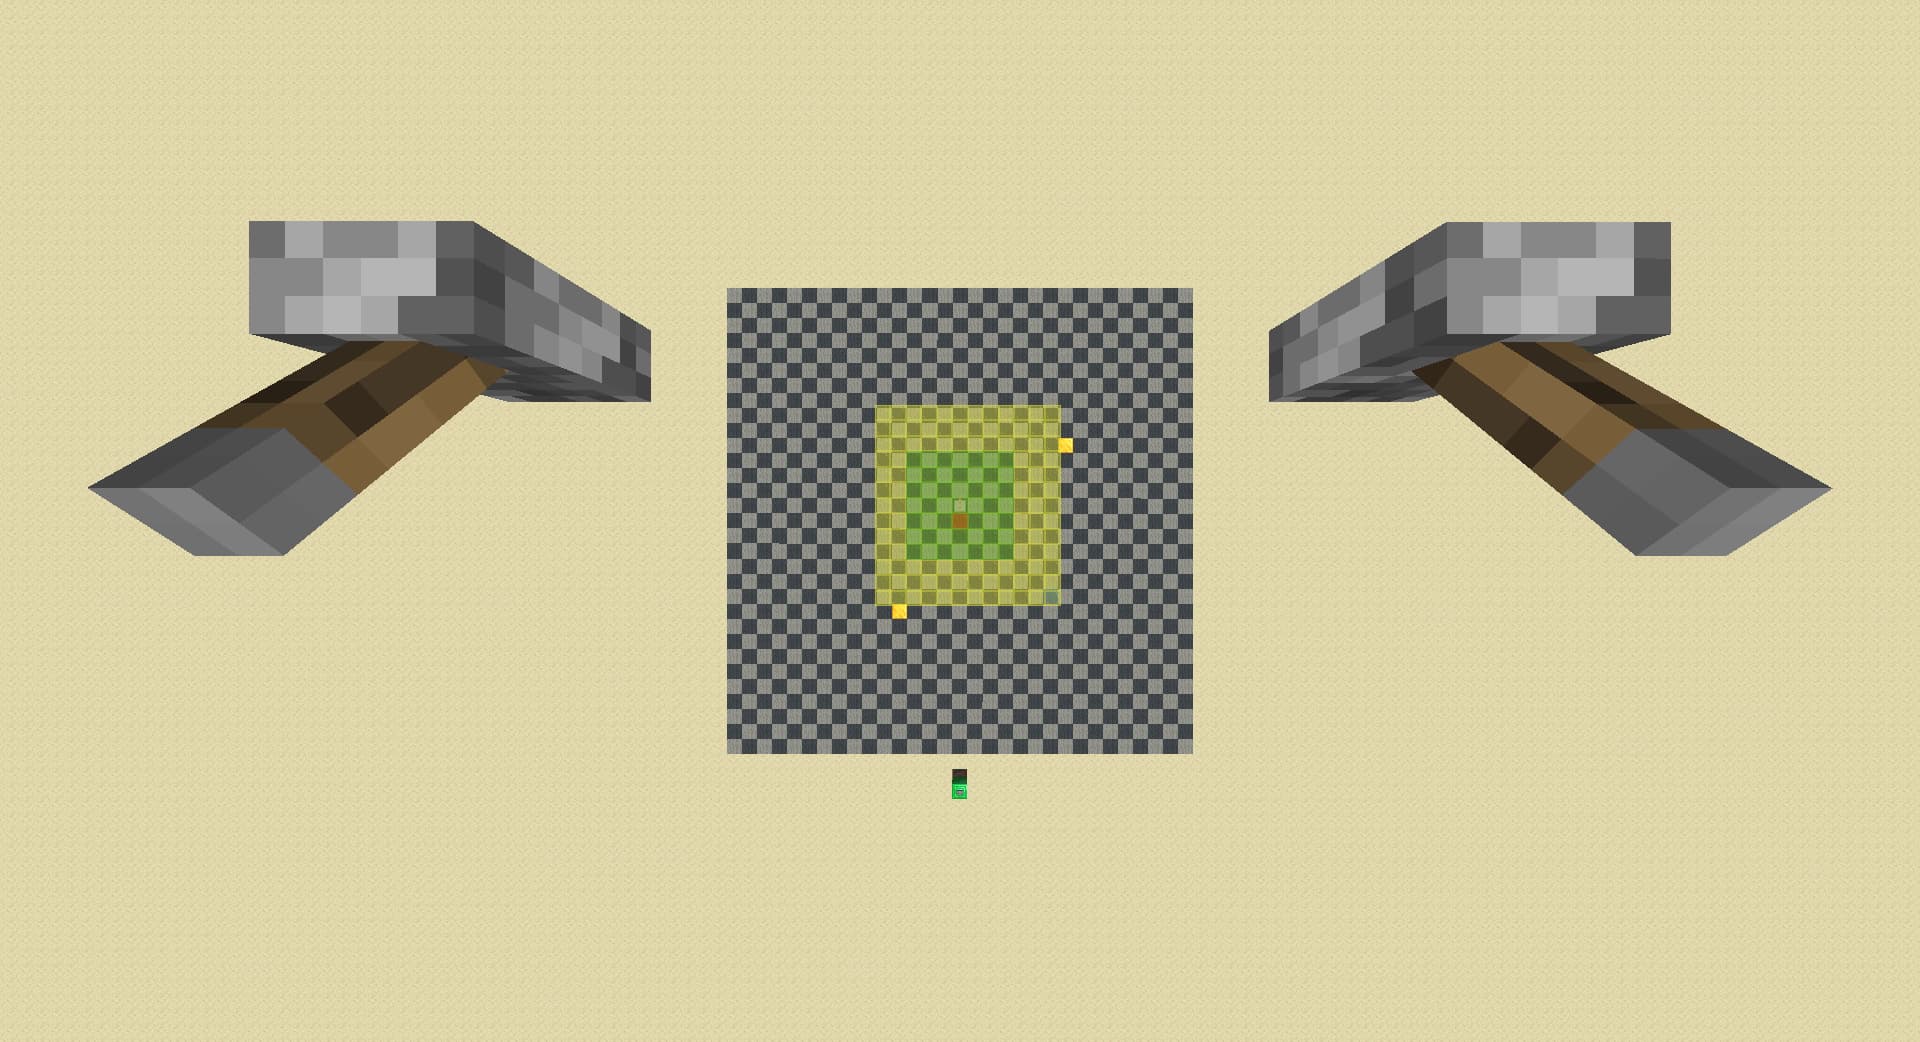
walk back 1 chunk, detects diagonal spawner if spawner is still loaded:
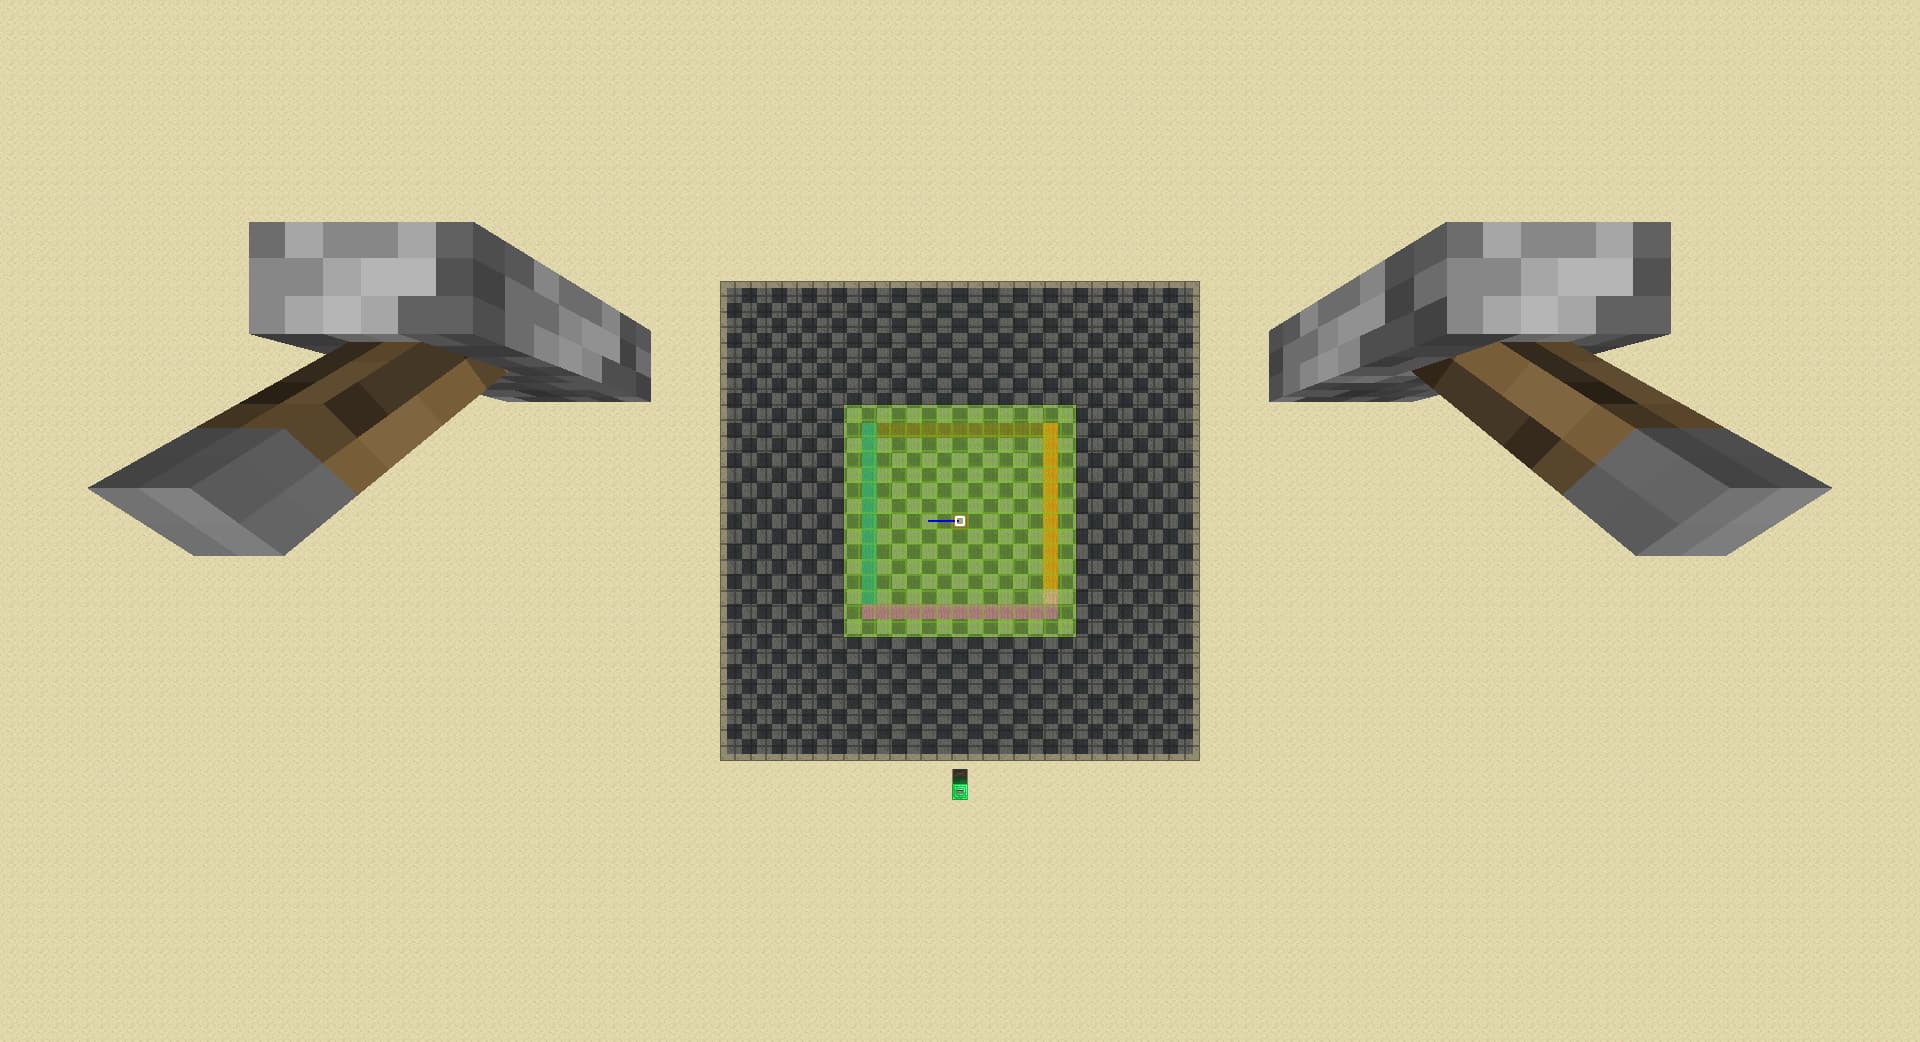
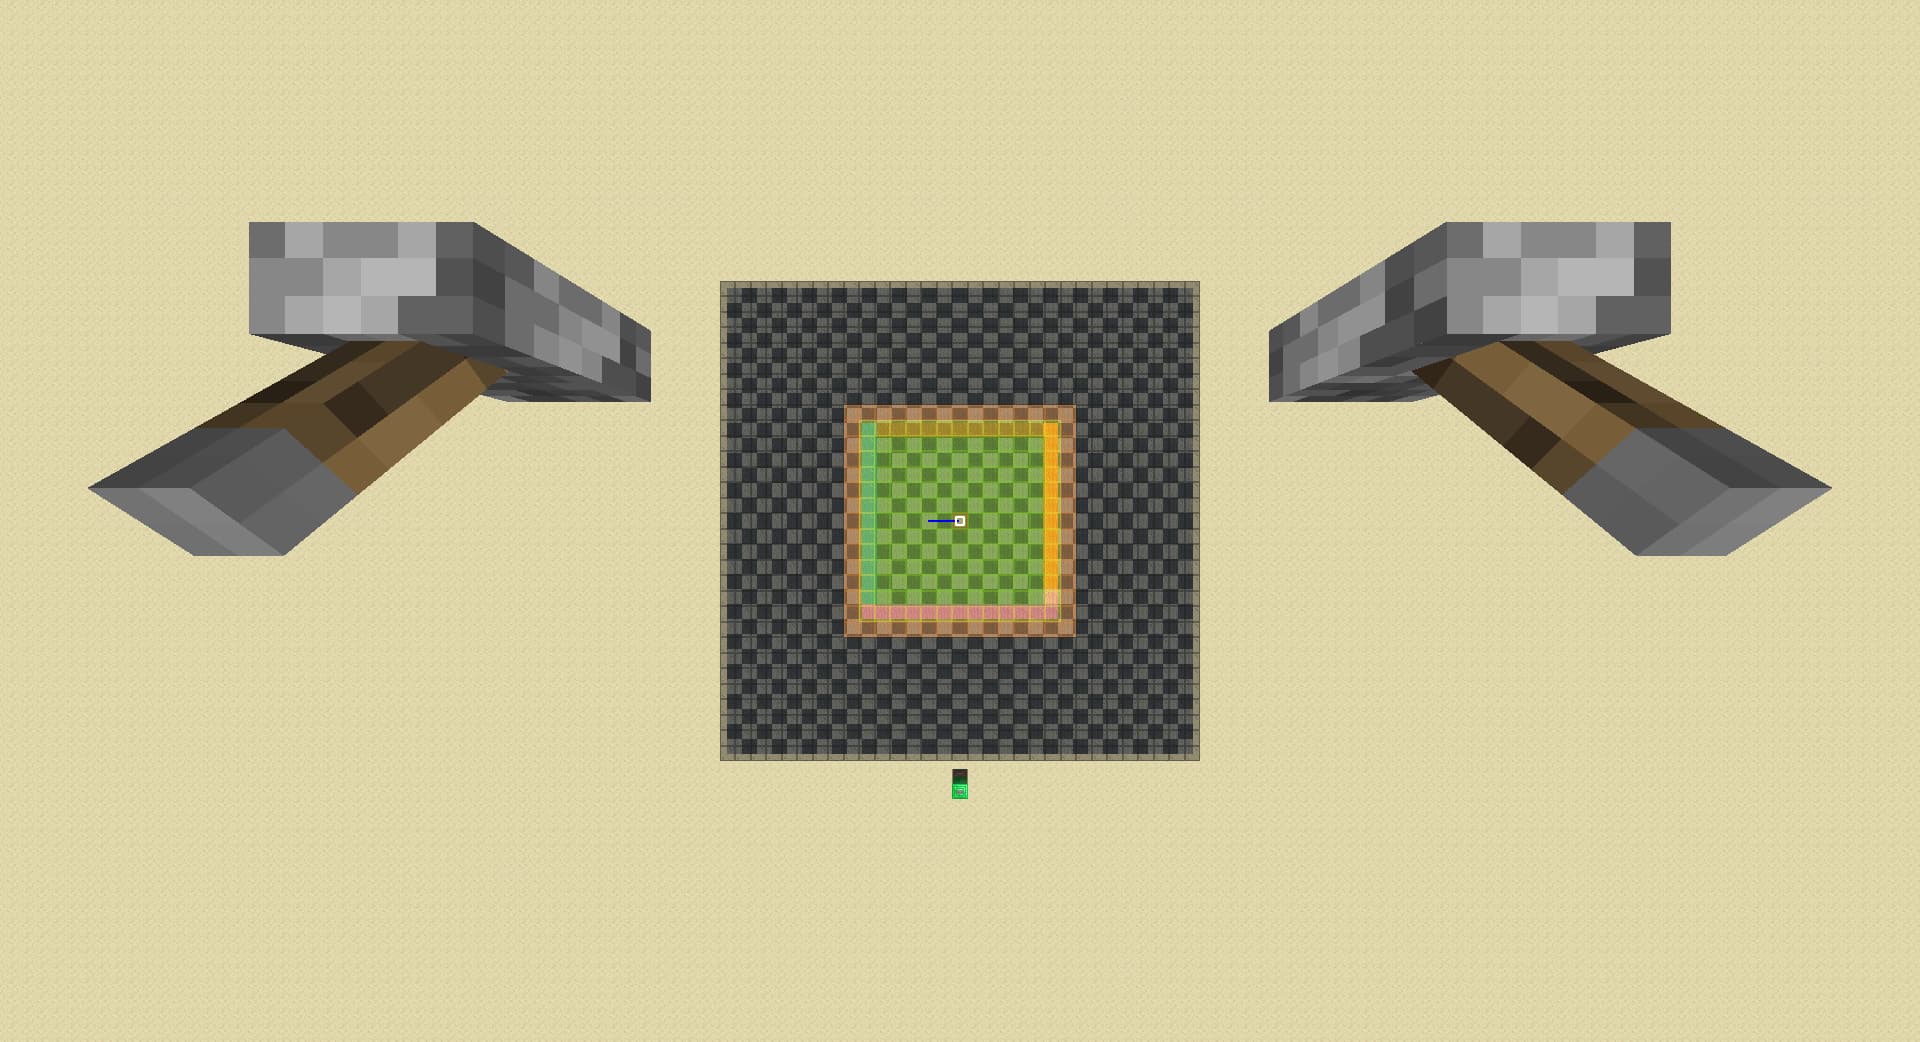
also this map perfectly covers all pie ray cases but in some niech cases it breaks. i found this because when i get a far spawner i sometimes walk towards the spawner 1 chunk to chunk count normally, and i notice that the spawner loads back in immediately even with entity ticking chunks 3 chunks away. i found no documentation of this, so i did some testing myself:
first, i walk far away and walk back and see if the border between unload and load still exist. for 1,2,3,4,8,24,36,48 chunks i walk away and come back, it still exist; i tried teleport to world border and teleport back but it is still there. i sat afk at world border for 5 minutes for autosave but it doesn’t disappear either.
next, i walk to the border chunk that make it disappear and raise rd by 1, and the spawner loads in. i walk back another chunk, spawner disappear; and raise rd by 1, the spawner loads in. i continue doing this till i reach 32 rd, and the pattern continues.
then, i walk back 2 chunks and raise rd by 2. this time it broke and i have to raise rd to normal level to load the spawner back in.
none of my assumptions on this issue explains it, and this works in both rsg and ranked instance so i think it is not related to treasure bug.